
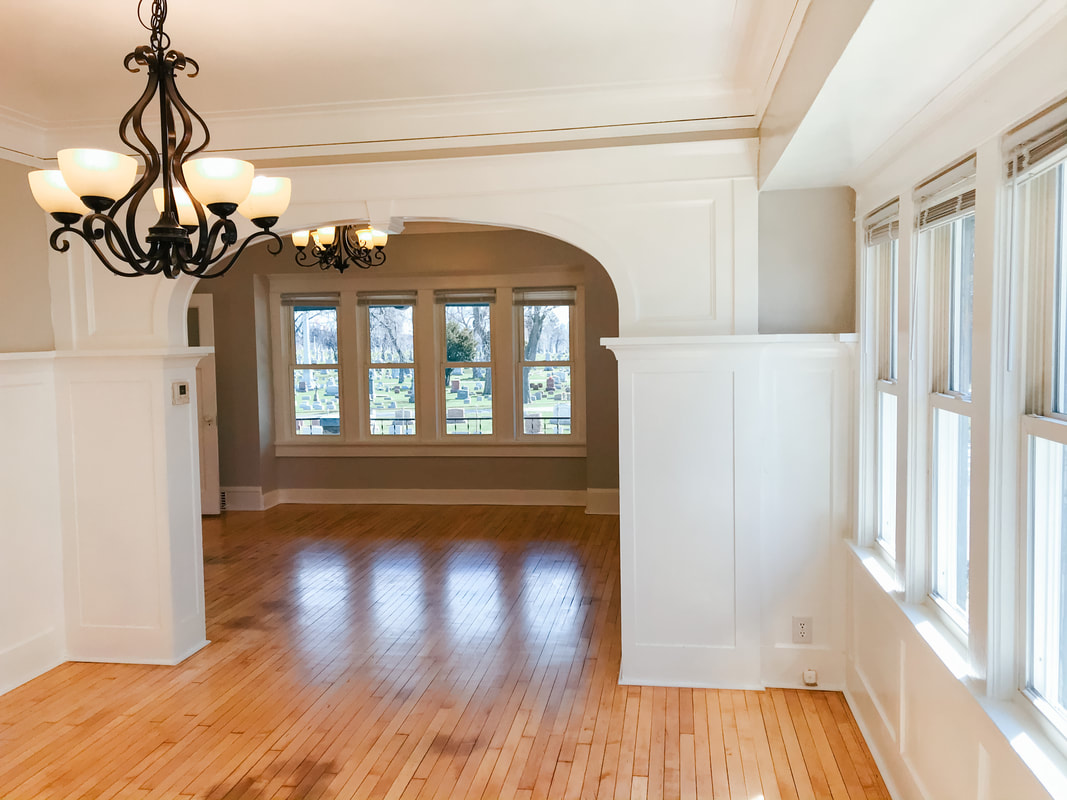
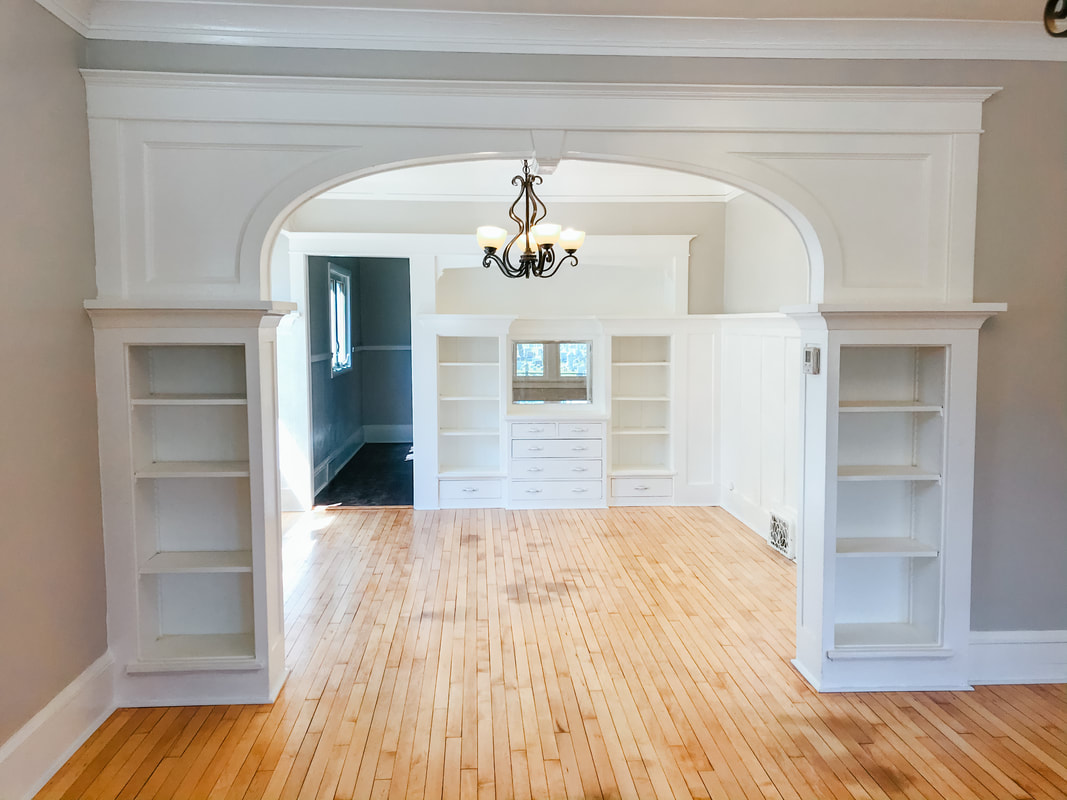
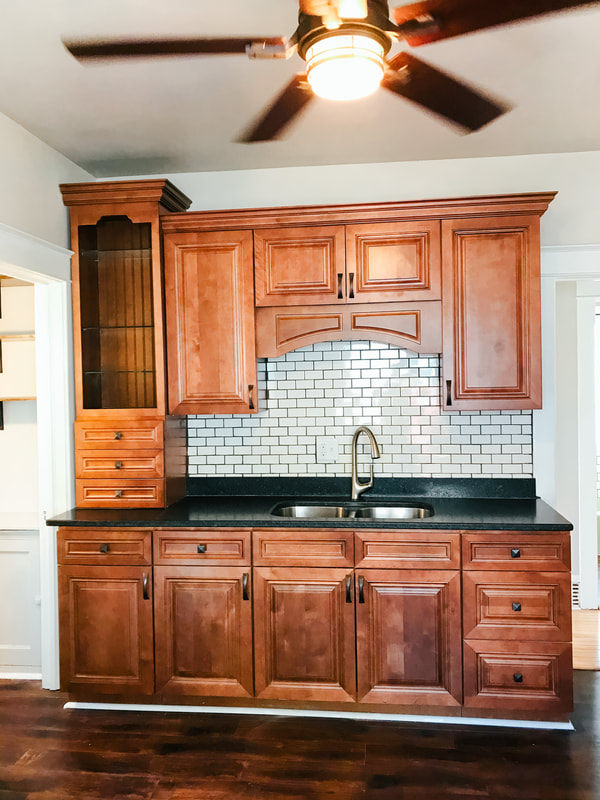
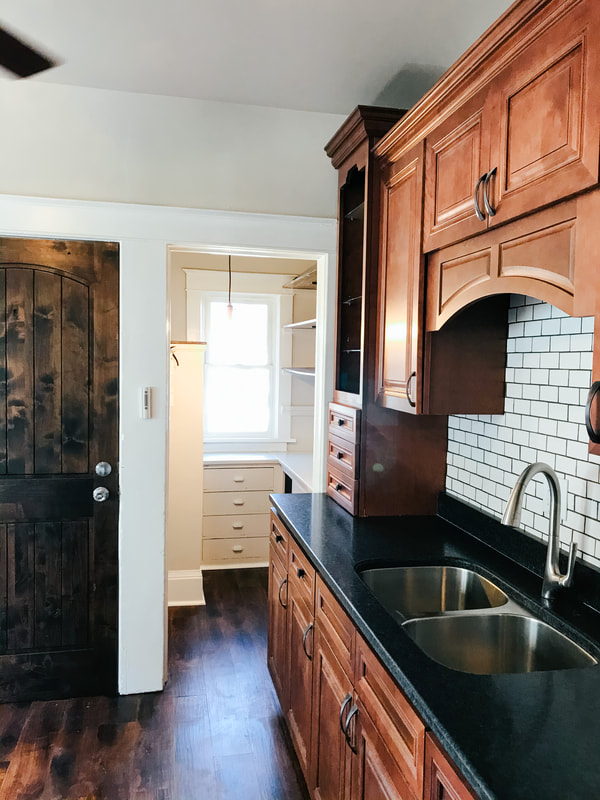
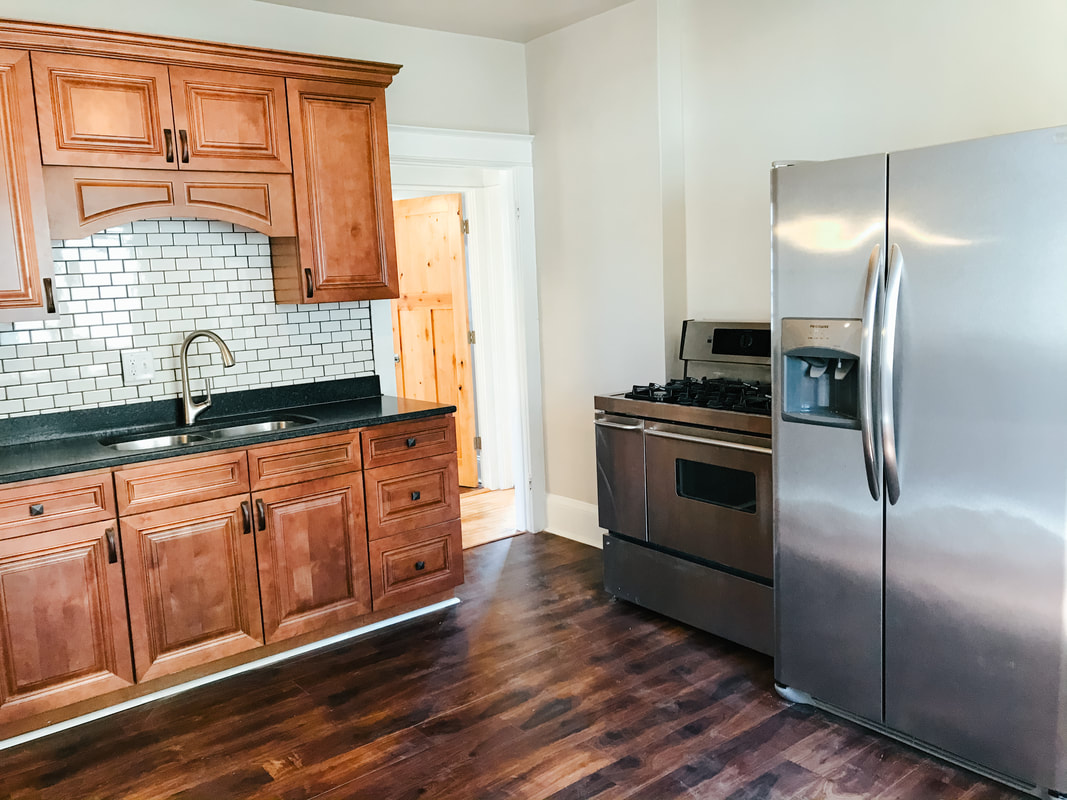
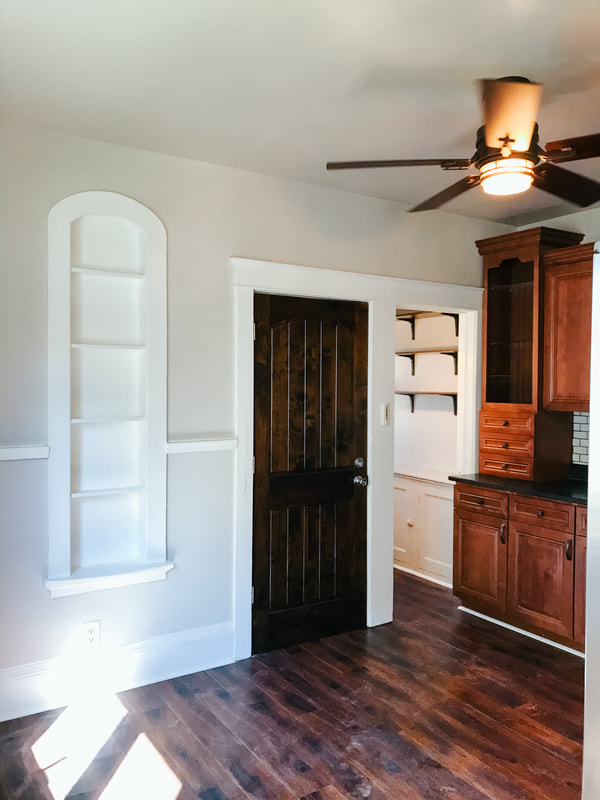
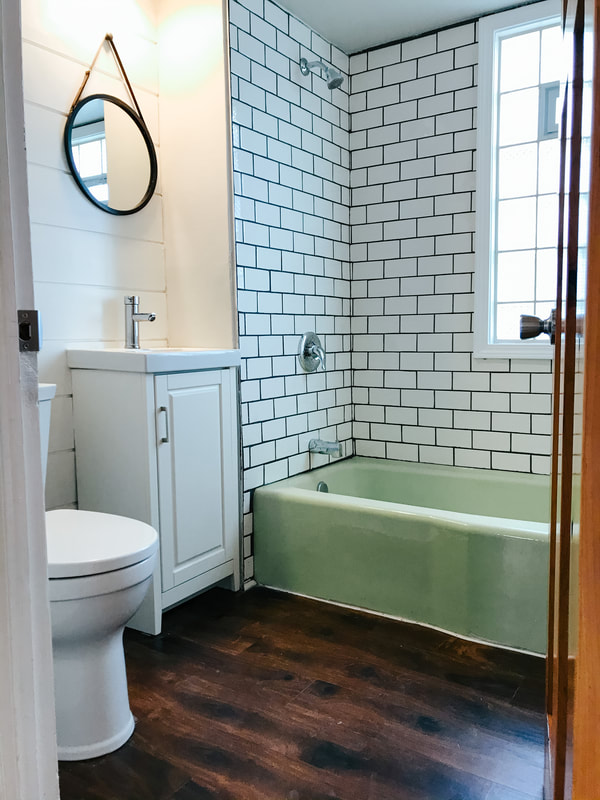
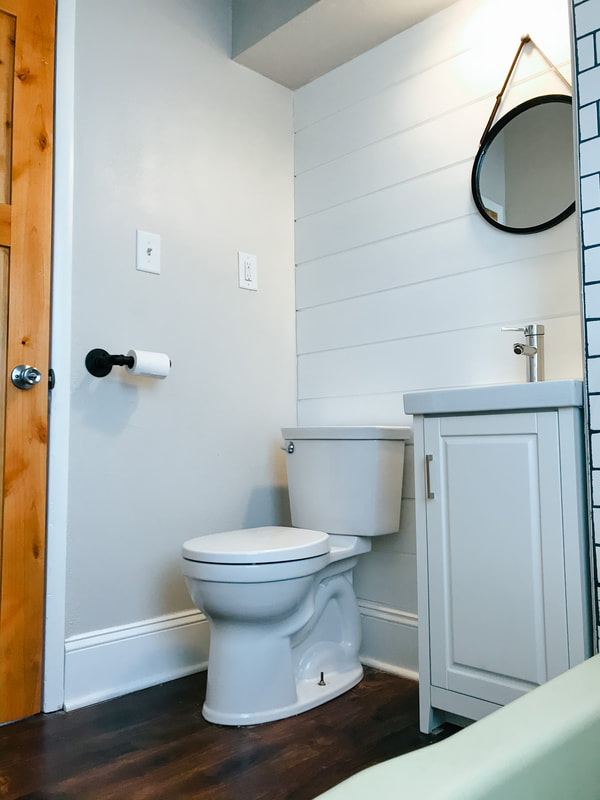
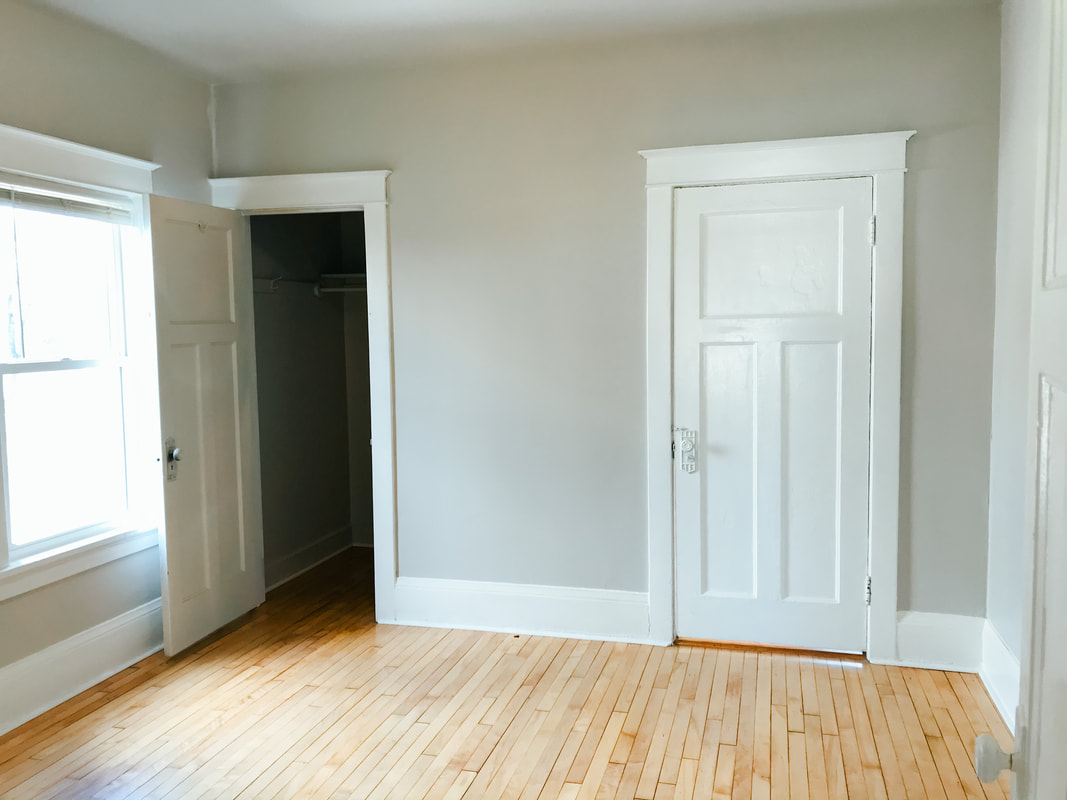
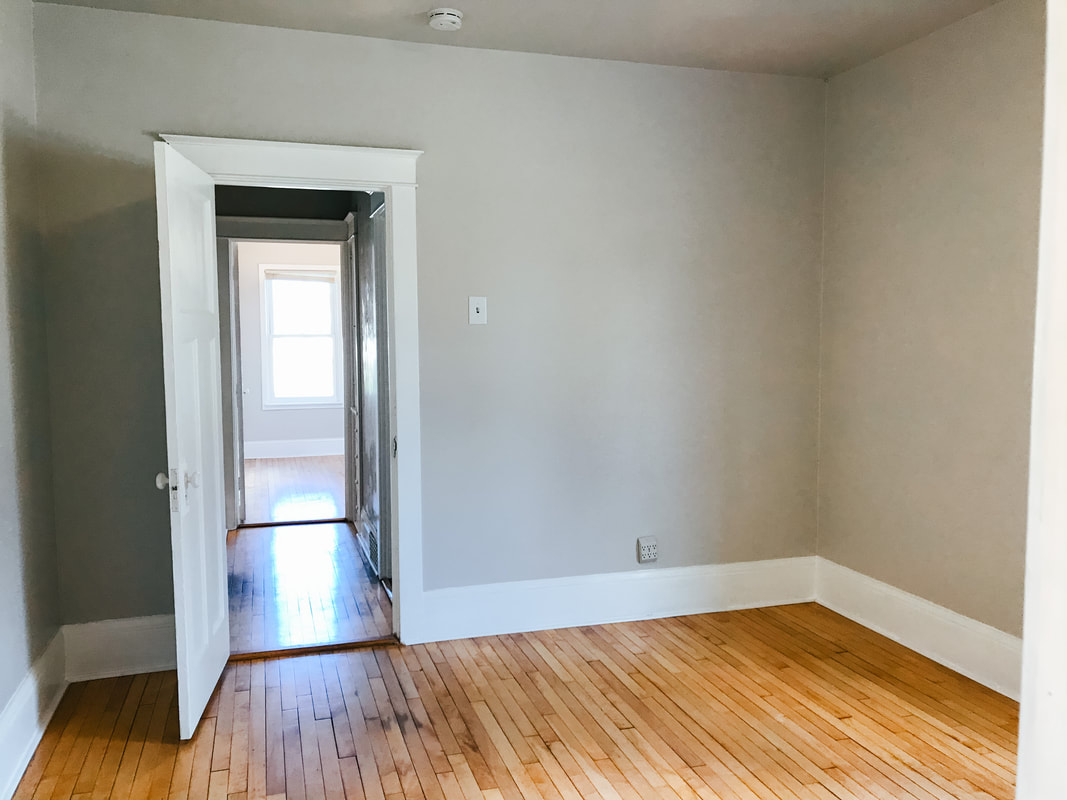
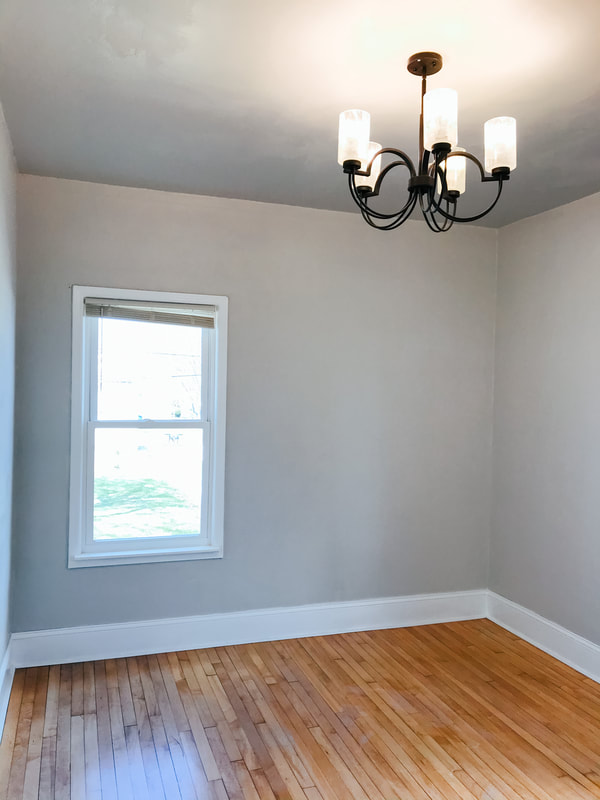
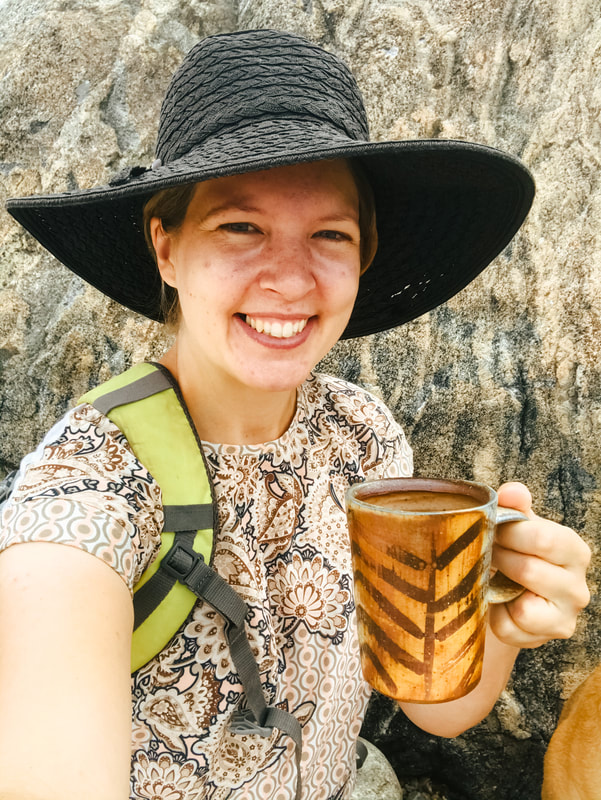
Lower Unit of Duplex is Done!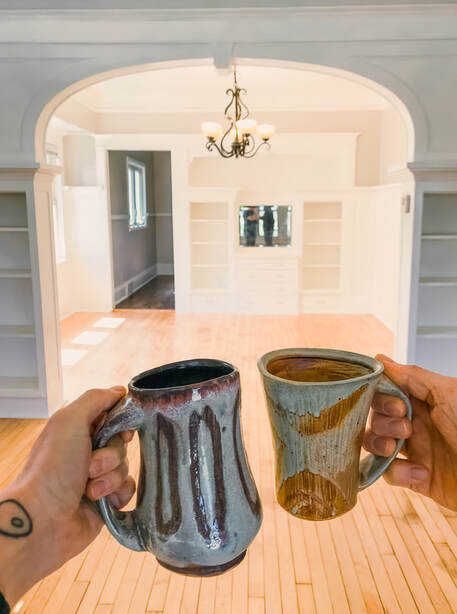 I have been working on more projects than just pottery these last few months! My husband and I have been renovating this 1917 Milwaukee Bungalow, Duplex, and the lower unit is now complete. It has been a labor of love with just a few of the projects including a massive paint overhaul, refinishing floors, and so much more. Oh how I want this unit for myself as it has so many built-ins that would be amazing to display pottery. Today, my husband and I had our last cup of coffee in the lower unit of the duplex. Here are more pictures of unit below. Dining and Living RoomKitchenBathroom2 BedroomsHappy Pottery B-dayCheers to my fellow March and April b-days as we learn how to celebrate a Birthday in the midst of quarantine and the COVID-19 crisis. Listed below are some of my approaches to still making my B-day special in the midst of isolation as we quarantine. 1. A Feast of Food at Home
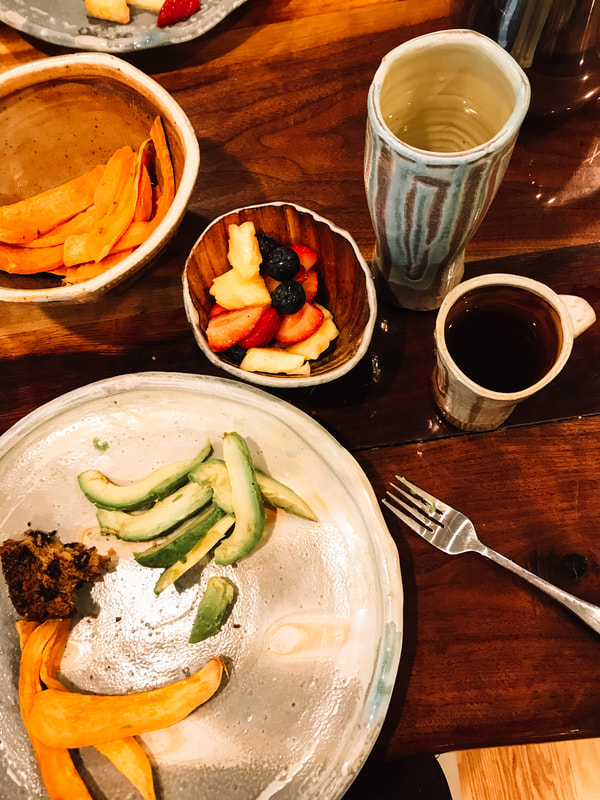
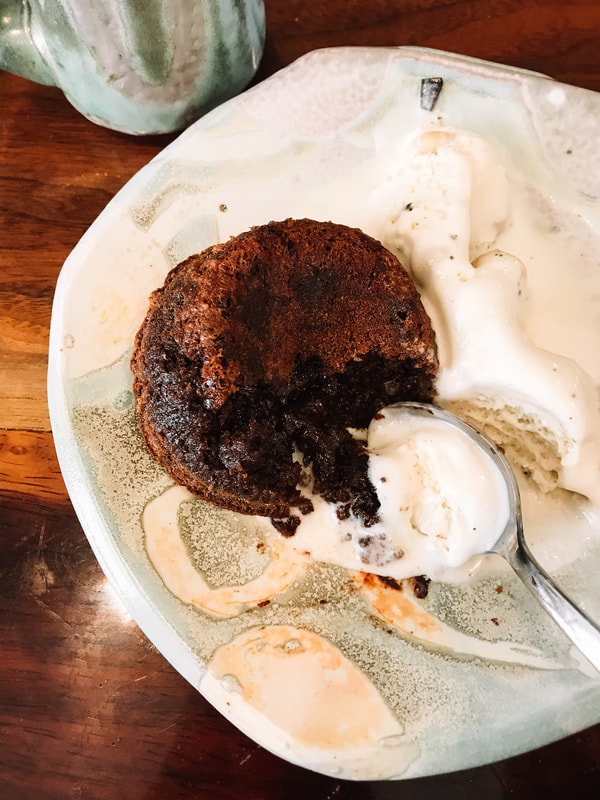
Good food is a must for any celebration! My husband made us an amazing breakfast before we each started our work day on my Bday. This included a healthy spread of fruit salad, sweet potatoes, avocado, healthy but yummy banana bread, and not feature in the picture was the scrambled eggs. This was perfect for me as breakfast is my favorite meal, and really enjoy savoring slow breakfasts on special days like my B-day. In contrast to my healthy breakfast was tea time ice cream and cake. Aldi sold this fabulous Godiva lava cake mix which all I had to do was add butter and eggs, and it backed really quickly as well. I loved these mini sized lava cakes and gooey hot center. 2. Great Coffee and Flowers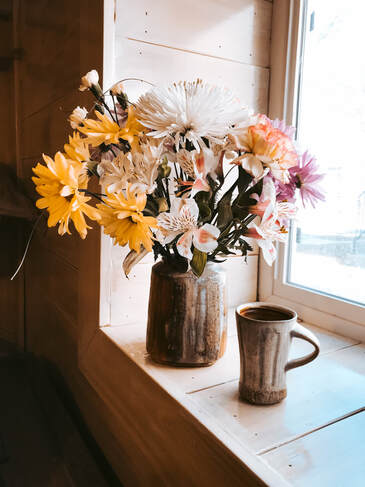 When it comes to good coffee I have to give a shout out to Stone Creek Coffee's Cream City roast. I'm not an affiliate for them they just make my absolute favorite coffee! I got a 5lbs bag of cream city roasted coffee for my B-day. And you should know that they are offering free shipping right now! Ps. a mug made by me and beans from stone creek coffee would make the best b-day/thinking of you gift. Plus my beautiful bouquet of aldi flowers in a Lisa York Arts vase. 3. Takeout and Nature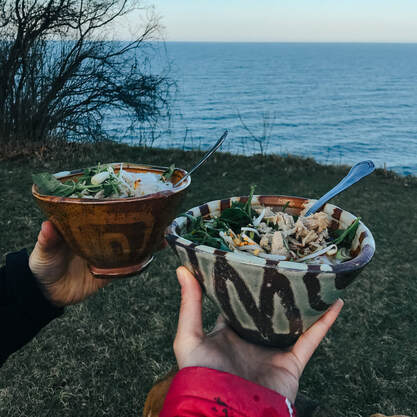 Finally, a double win with takeout food was getting to support a local restaurant and not having to cook. I ordered pho from Vientiane Noodle Shop. This was a the perfect meal for our picnic at Lake Michigan because it was a little cold to have a picnic. It's good to remember that we are still able to enjoy nature at our local parks we just need to make an effort to keep the appropriate social distance of 6ft. Haha...so I guess you know my favorite things now: pottery, food, and nature. Well I had a fabulous pottery b-day, and I hope you, my fellow quarantined B-day buds, make an effort to have a special, celebrated Birthday during COVID-19 quarantine as well.
And hey we can always celebrate our Birthday again with travel and/or people post the quarantine. In the mean while, we can day dream of being able to explore and travel again this summer. An assignment in creativity.Change up the monotony of your pottery making! If you are feeling stuck you can change up the creativity in your pottery by trying out one or all of the ideas listed below! 1. Three Basic Profiles1. Straight Profile, 2. Concave Profile, 3. Convex Profile 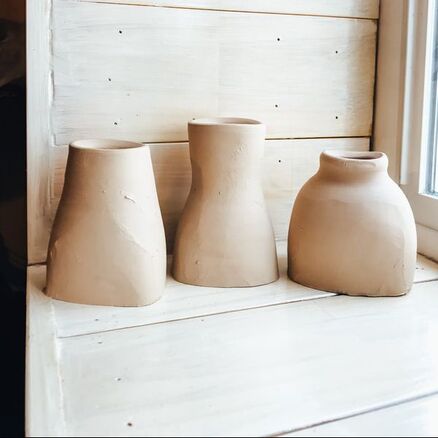 2. Non-Round ShapesGet away from the round wheel thrown shape. You can alter your pots to triangular, square, rectangular, pentagonal. 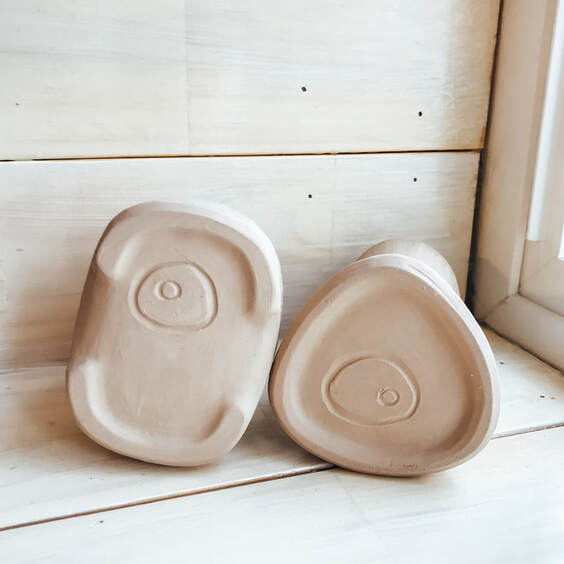 Rectangular and triangular shaped pots. 3. Vary the Rim and Foot StatementsI have three different rim statements below. 1. Triangular & Beveled In, 2. Rectangular and Undulating, 3. Rectangular and Cut Angular I have three different foot statements listed below. 1. Beveled Up, 2. Beveled Up and Indented, 3. Flared and Indented These are just 3 basic ideas you can incorporated into diversify the designs of your pottery. With each idea of changing up the profile, overall shape, and rim/foot statements the design possibilities are endless. I would love to see some before and afters of your pottery as you try out some of these idea.
Rainbow Shaped HandleCalling all teacher!
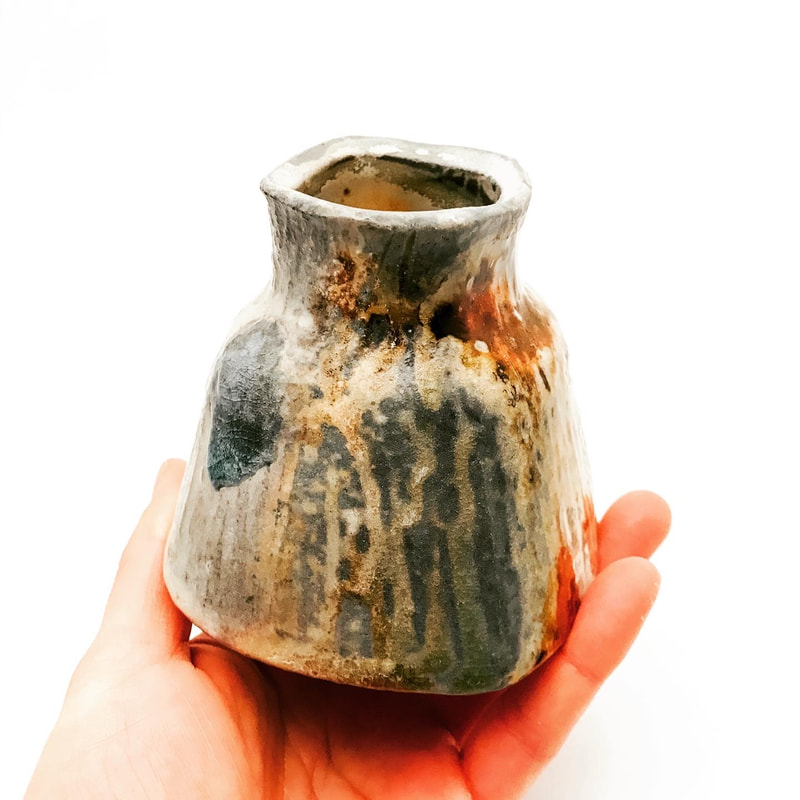
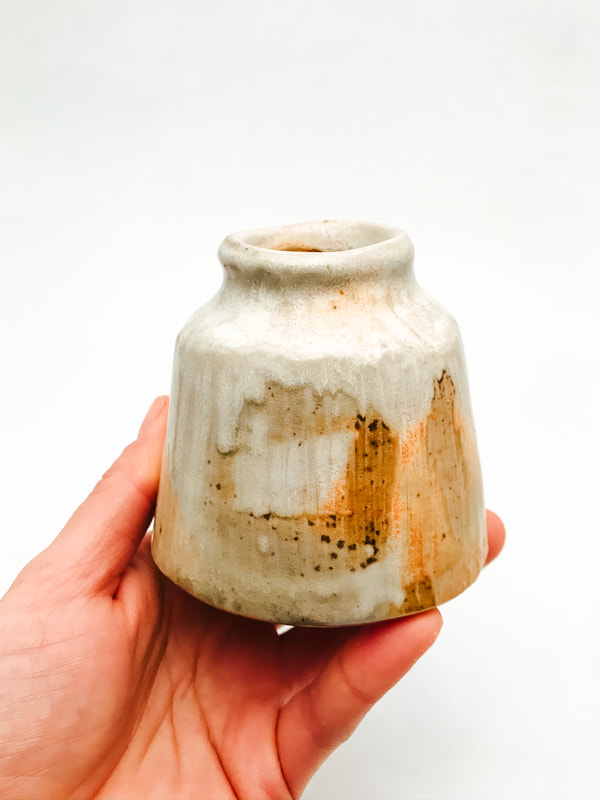
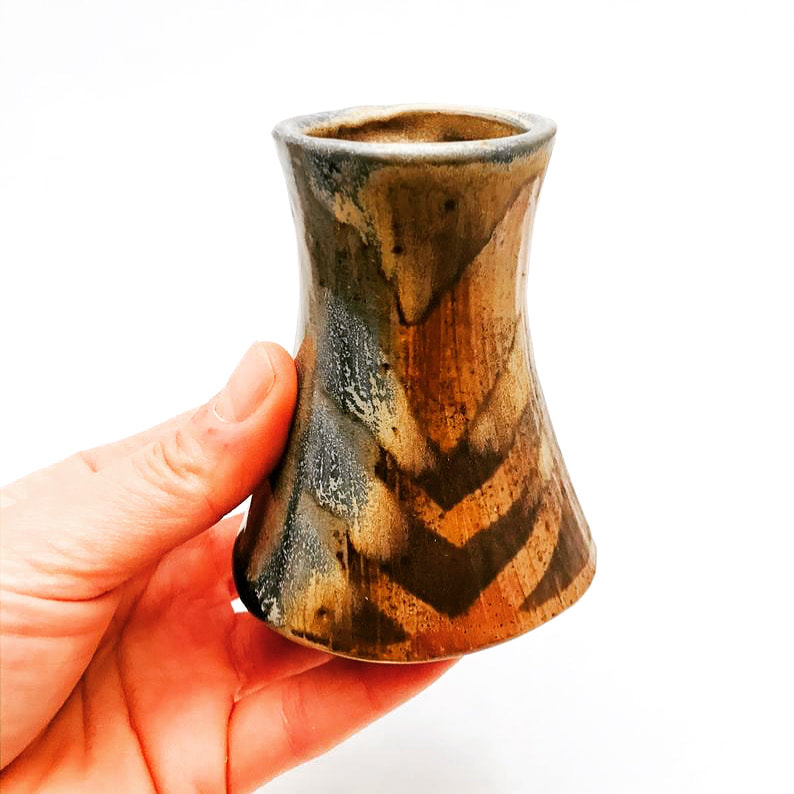
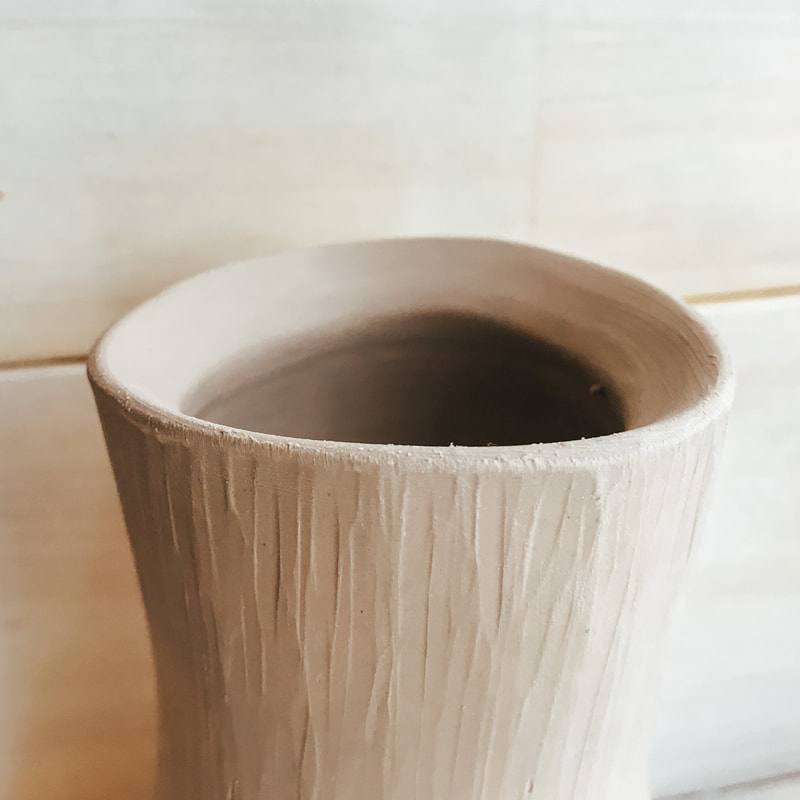
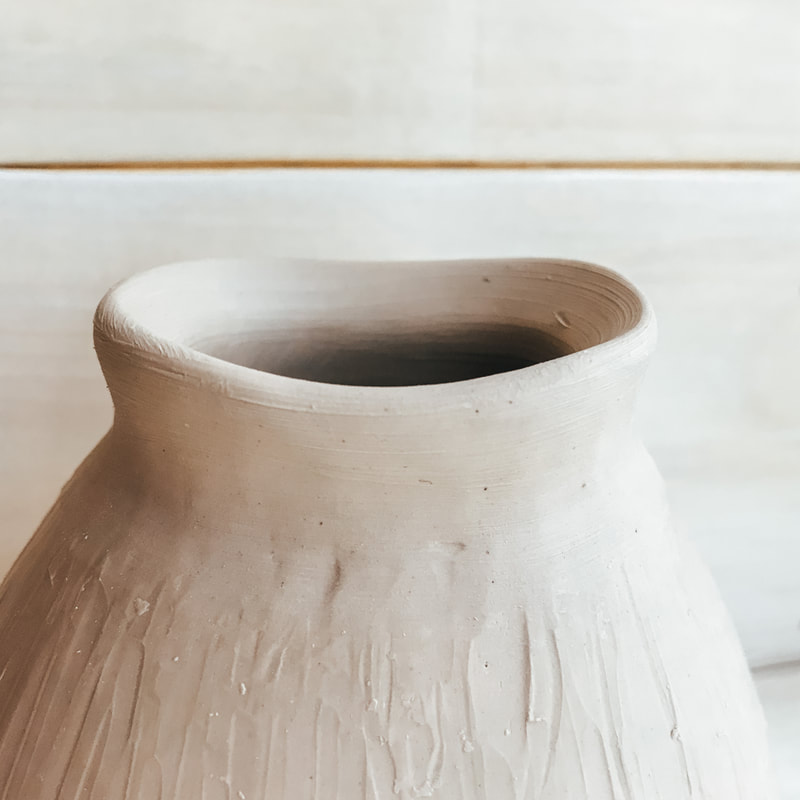
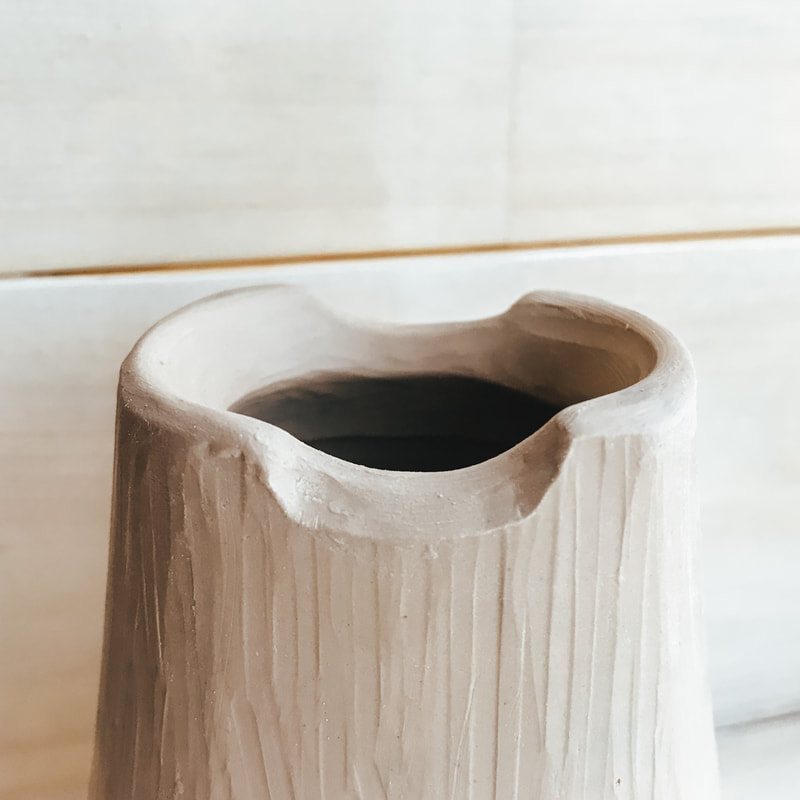
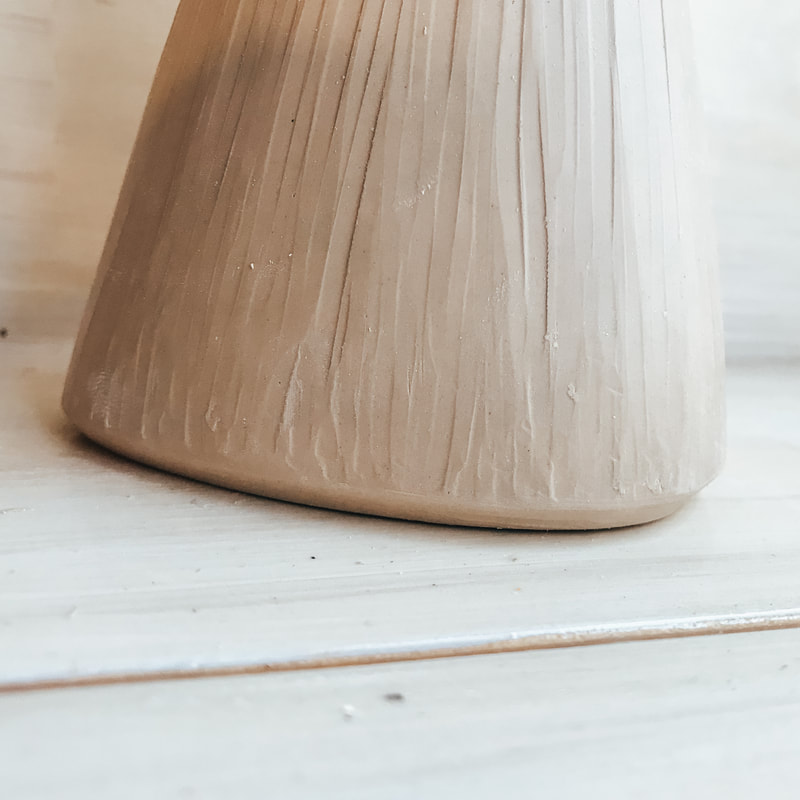
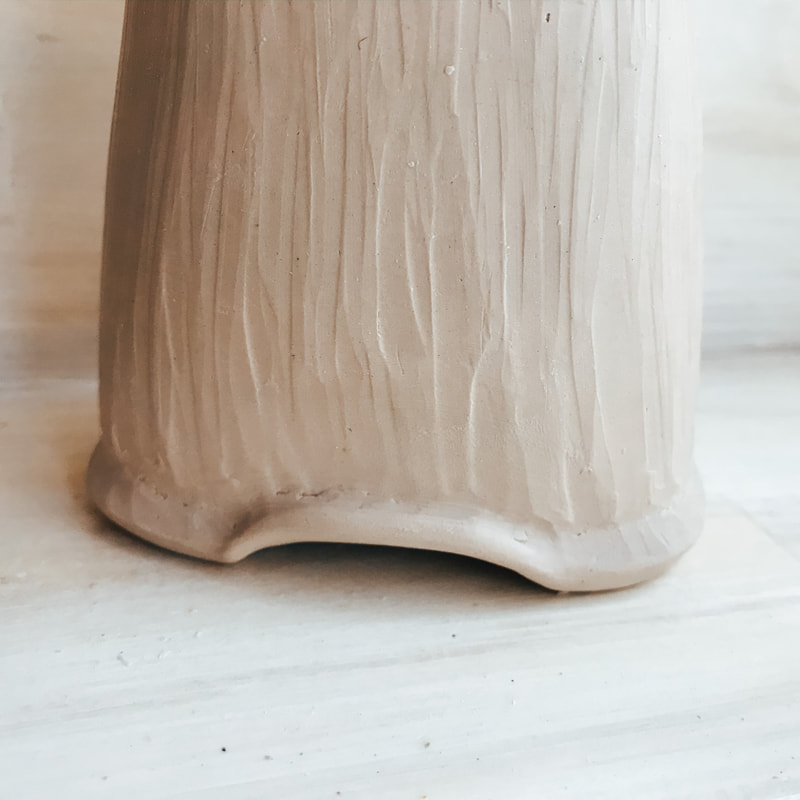
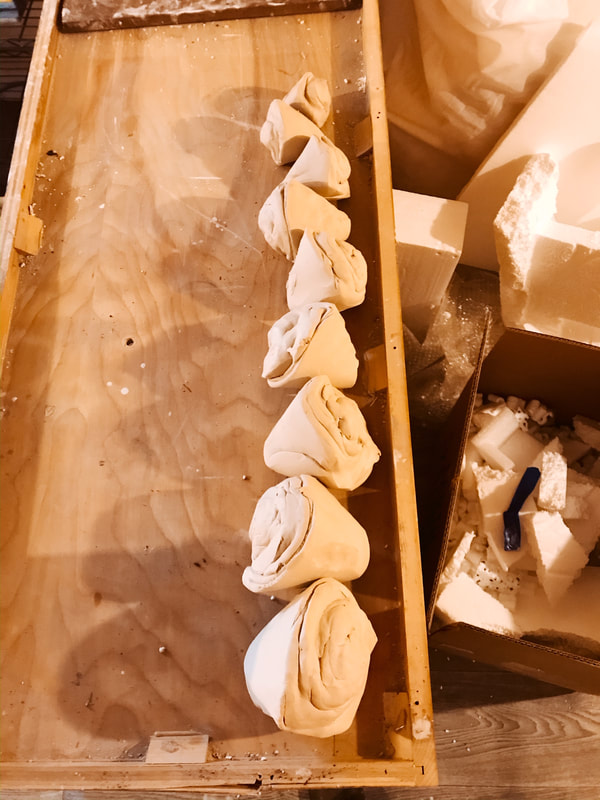
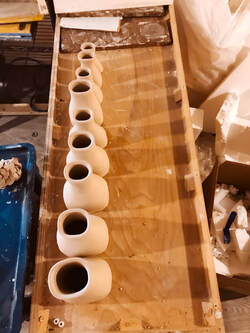
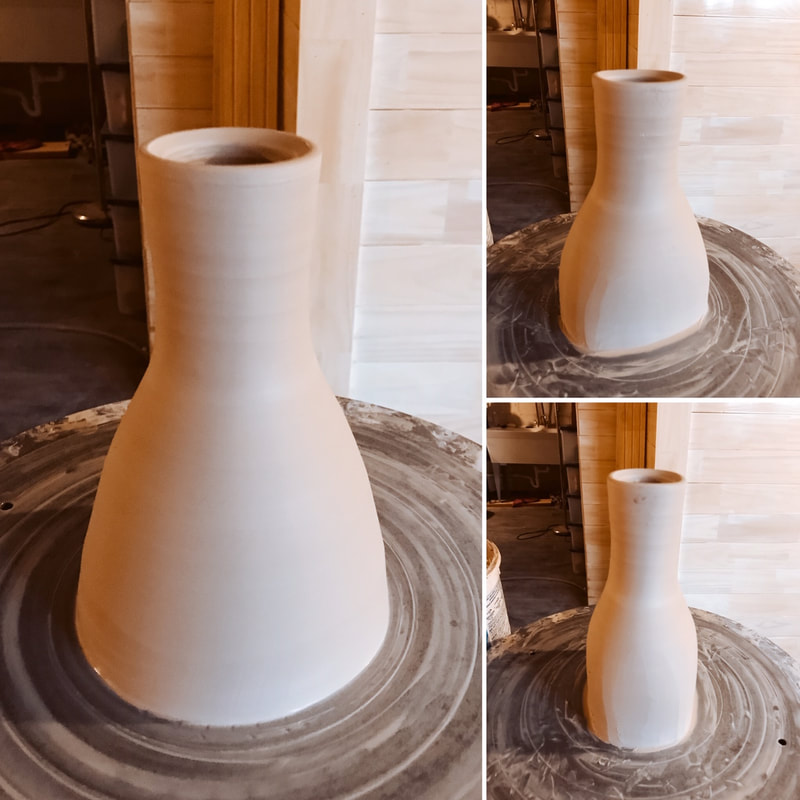
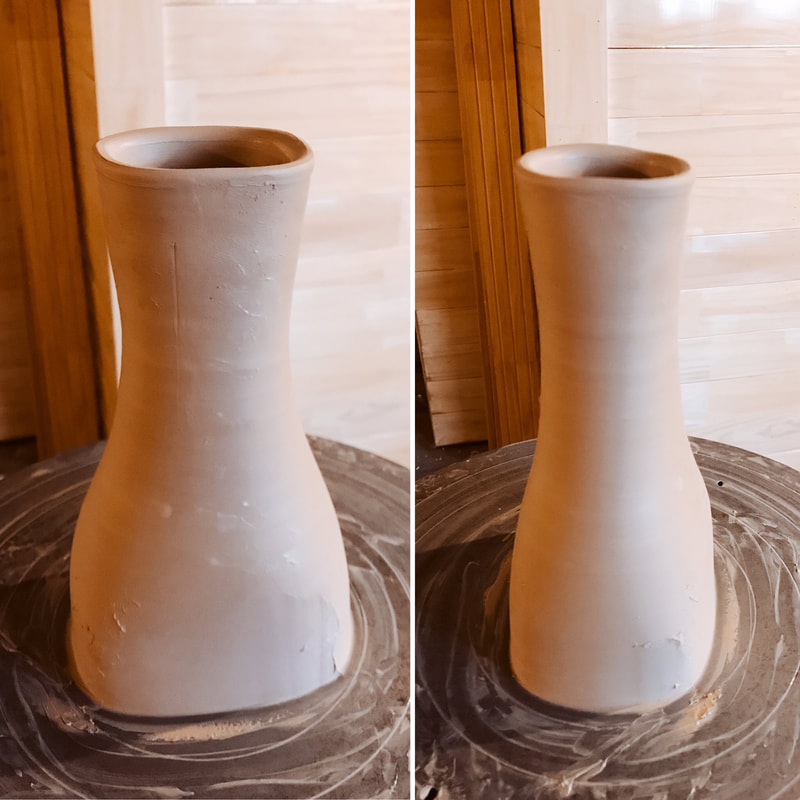
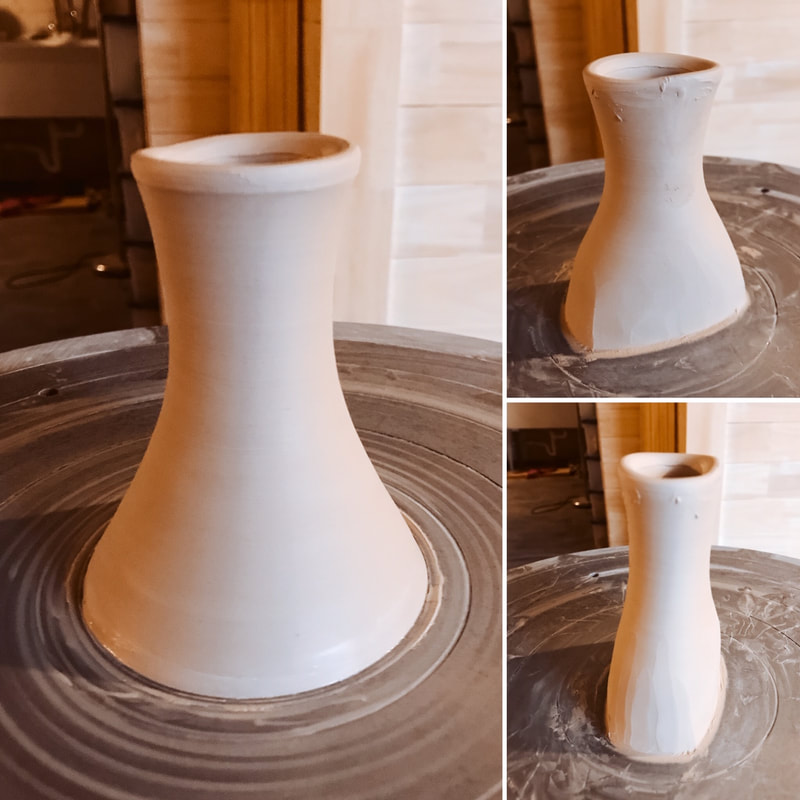
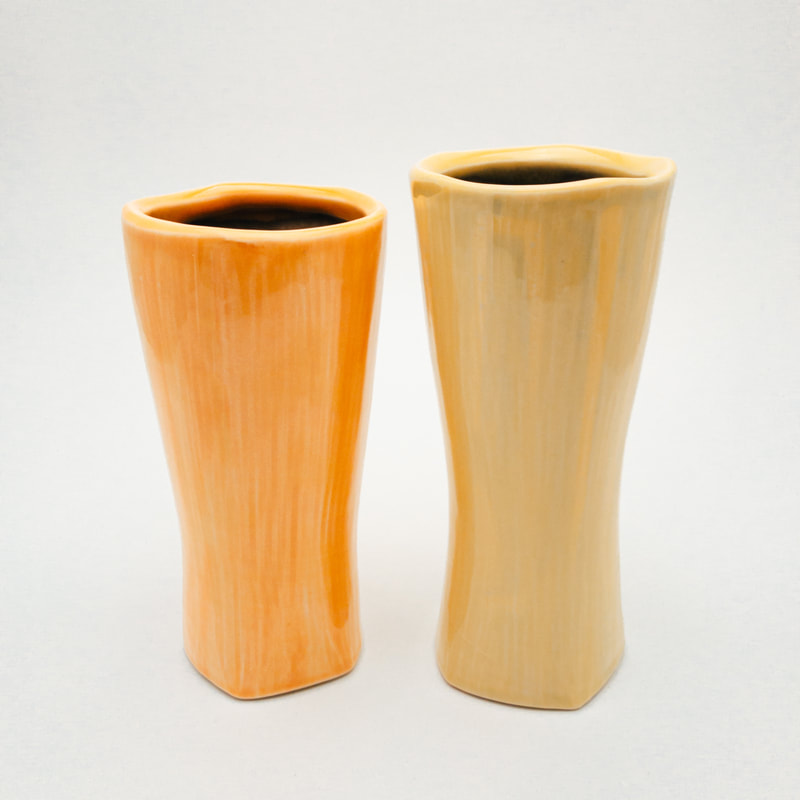
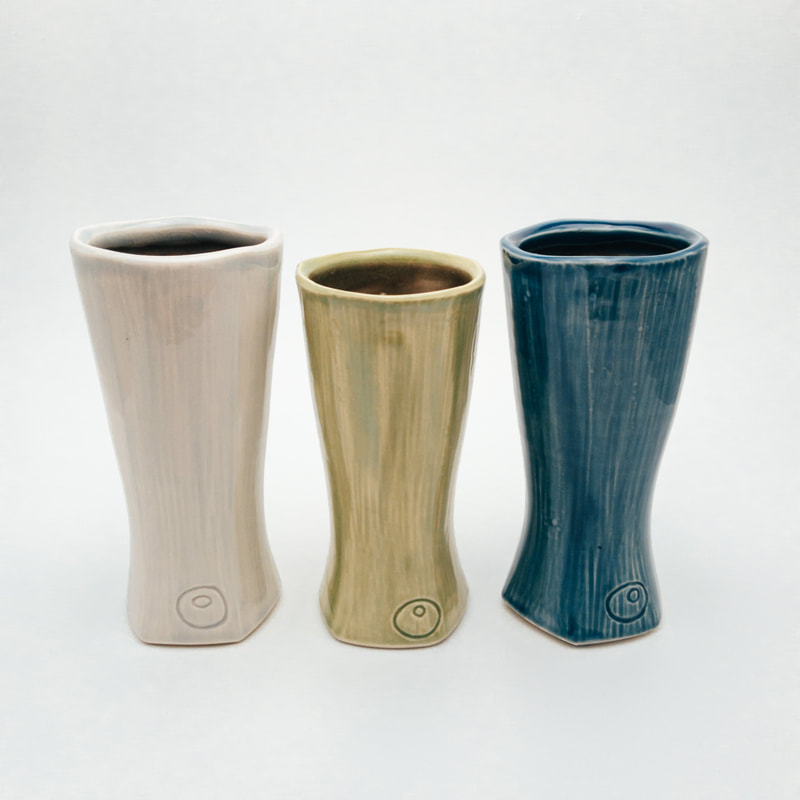
I so empathize with your challenge of teaching your ceramic classes online right now. I taught at University of North Dakota for 3 years as a graduate students, and then I taught 4 years at Hood College as an adjunct professor. I do not envy your transition to online teaching. If there is a way I can help with creating a mini workshop like this one, or maybe a zoom call into your class for your students to hear from a professional artists please reach out. Keep up the hard work! How to make a bud vase and get creative with the design.Teaching this bud vase workshop live on Clay Buddies Facebook page failed due technical difficulties... but I went ahead and filmed the workshop. Feel free to reach out questions you may have asked if this were a live workshop.  Behind the scenes funny story... I was brainstorming a way to prop up my phone for the video while still having my phone plugged into my phone charger. After trying a few different ways of propping up my phone I had a "aha" moment of toilet paper. Toilet paper to the rescue! It worked really well to have my phone cord run up through the whole. Enjoy the video! And check out other behind the scenes stories. Clay Buddies Workshop Week: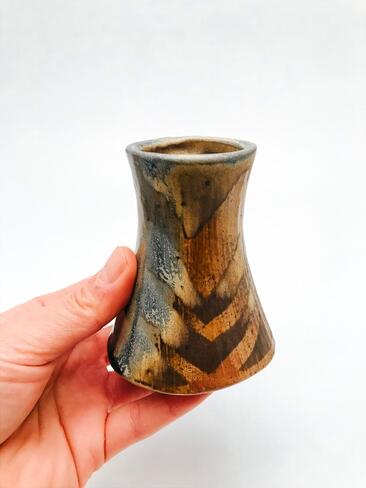 Calling all ceramic teachers, did you hear that Clay Buddies is putting on an entire week of free live clay workshops! This is a great opportunity for you to create a assignment based off of these free live workshops. Clay buddies is a group created on facebook for clay artists to share their ideas and work. Bonus, they will be re-sharing the workshops on the Clay Buddies Youtube Channel if you are unable to see the workshops live on Facebook. The topics being covered by these workshops are diverse ranging from throwing skills, surface decorations, handles and lids, glaze work, and so much more. See me, Lisa York, live on the Clay Buddies facebook page Tuesday, March 23rd 9pm to 10pm (CDT). Thrown Oblong/Squashed VasesA great ceramic assignment: throw a specific form in increments of 1/4 or 1/2 pounds. This helps you hone in on what clay weight is ideal for a form you have in mind. I am sharing an example of oblong vases. Weights of pieces below: 0.5, 0.75, 1, 1.5, 1.75, 2, 2.5, 2.75, and 3 pounds balls of clay.
It's important to make observations of what the shape looked like pre-squishing if you would like to create that shape again. Look at a few of the examples provided below. Note: that sizes vary based on amount of clay used, how wide the base is, and how narrow the top is. I personally like having the variety of the shapes. If you wanted to see how the size changed just by the weight you could standardize how wide the top and bottoms were with a pair of calipers. 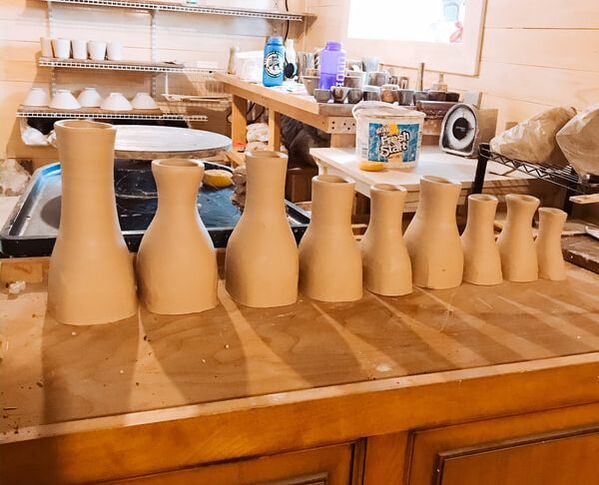 Ps. I have some of these finished vases for sale in my Etsy store.
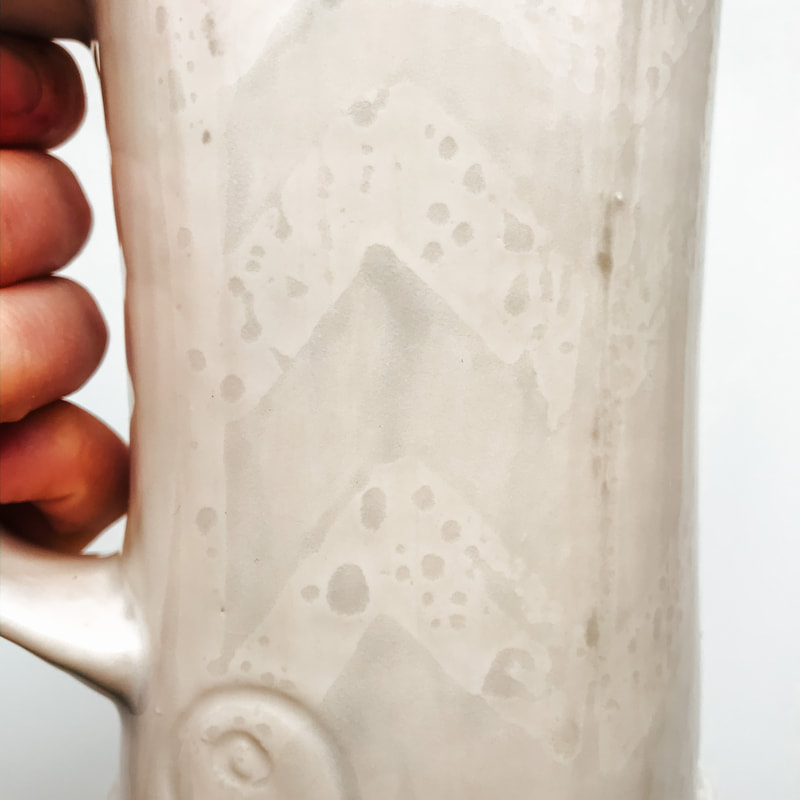
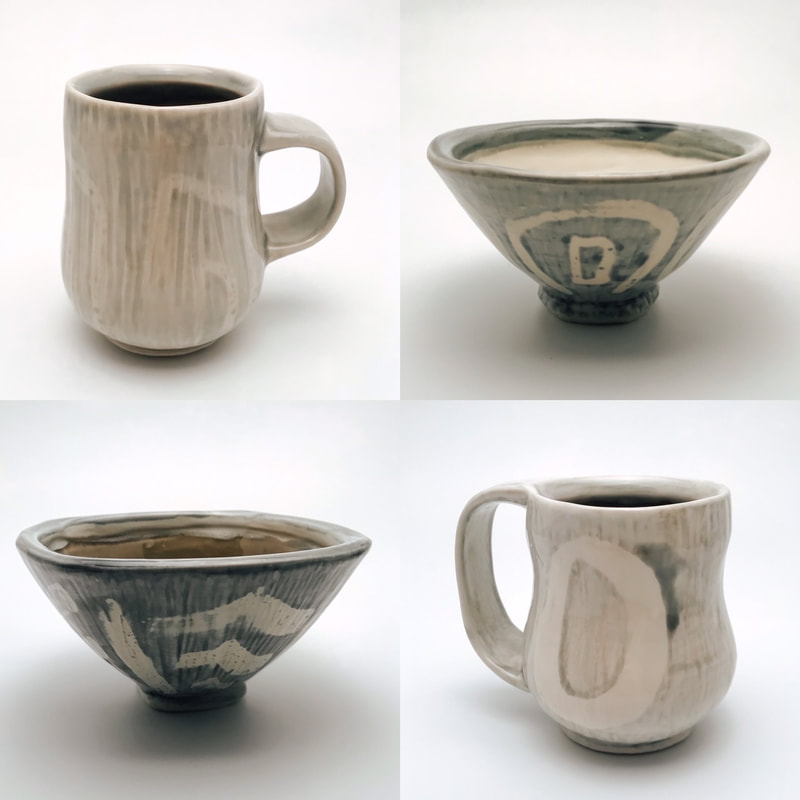
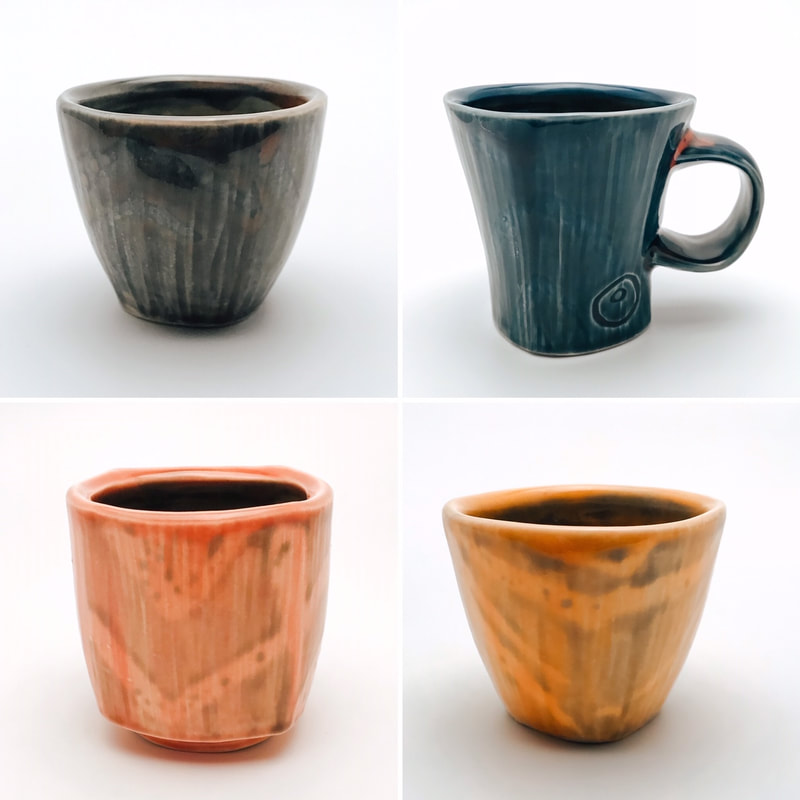
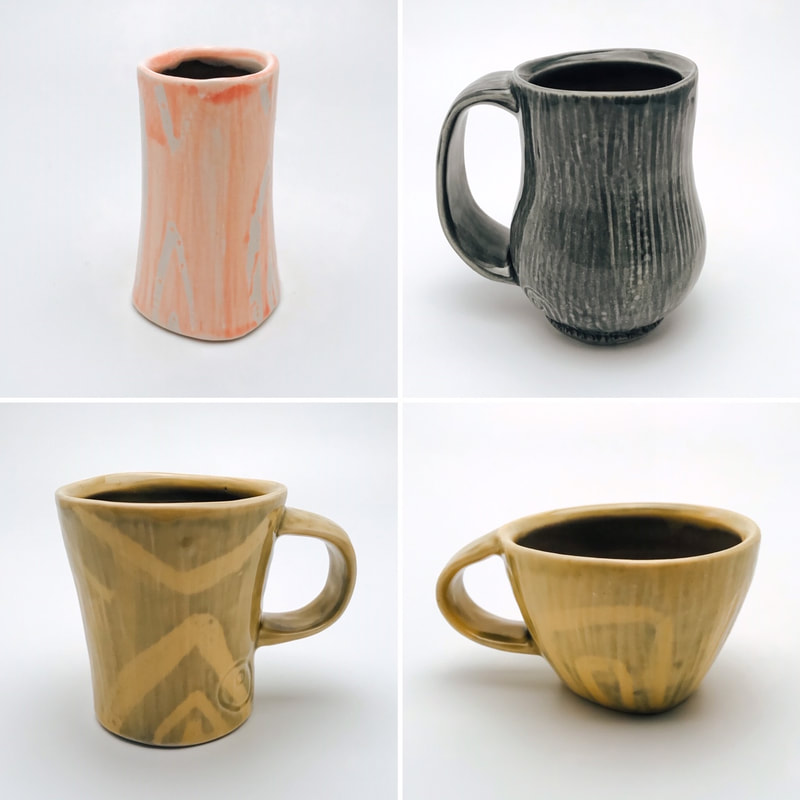
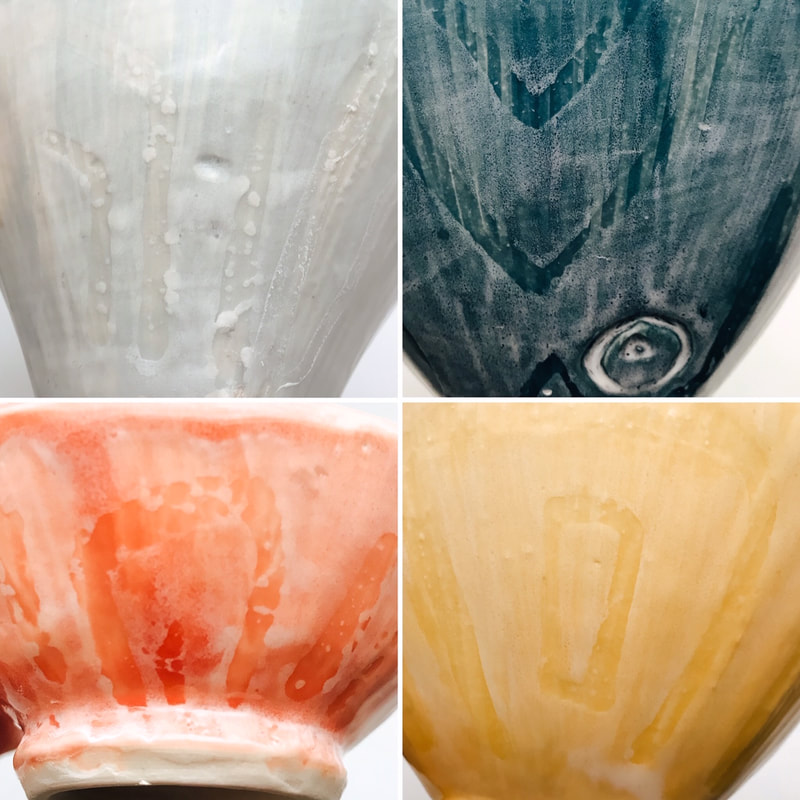
Combinations of layering celadon glazes with wax resist designs on pottery.All glazes listed below are from Amaco's Celadon cone 6 glaze series, and an exemption of satin matte white.
This white mug is definitely my favorite piece coming out of this batch of electric fired pieces. I love how at first the mug first appears to be just white and when you look at it closely their is a lot happening with the surface of the mug! Notice the intricacy of surface on the detail photo. Base glaze Snow, wax resist pattern, and top glaze Ice.
Interested in seeing more results from amaco glaze testing?
Click button below. Organic Wood Carving |


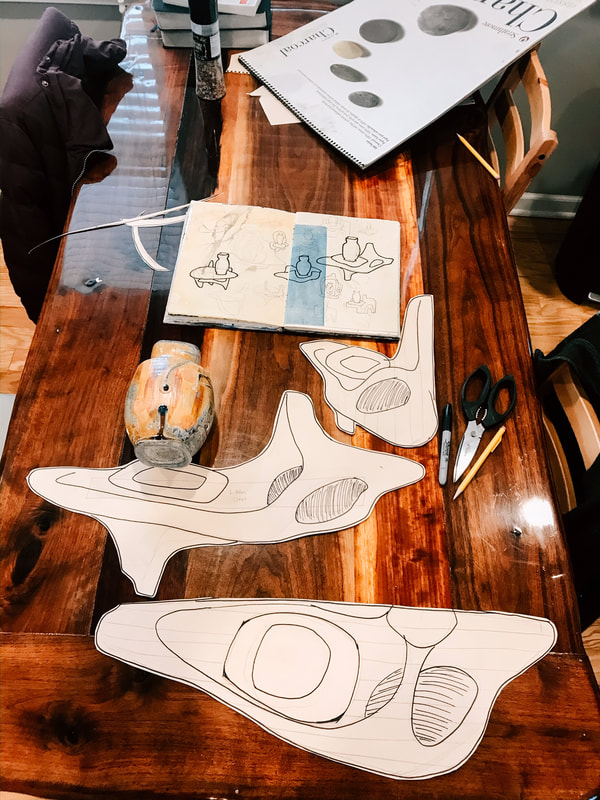
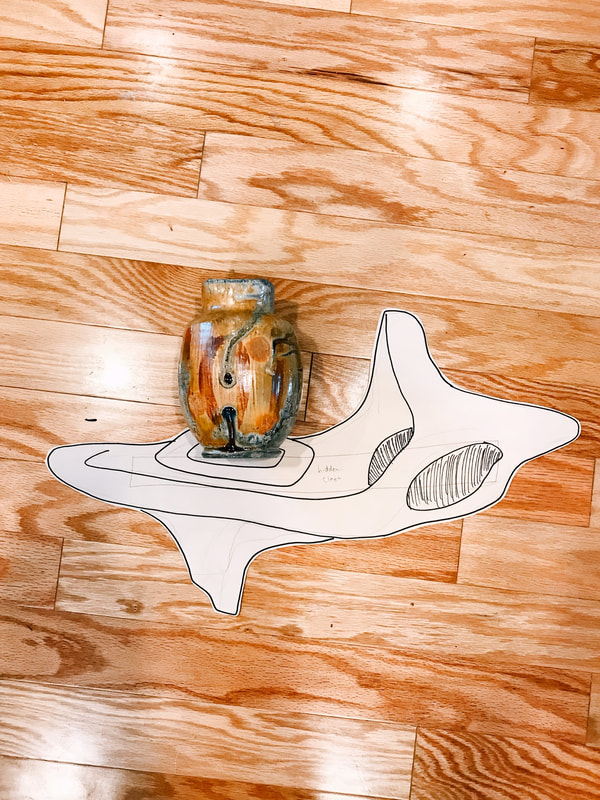 Front View | 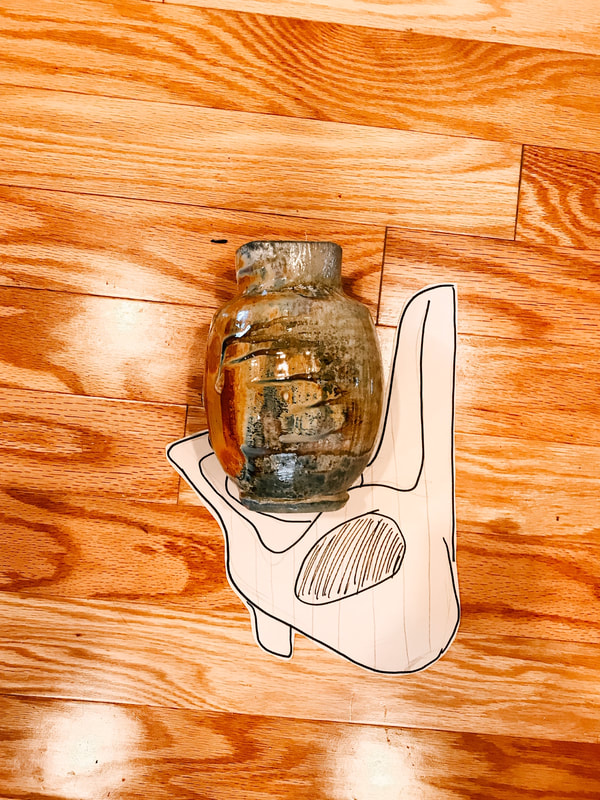 Side View | 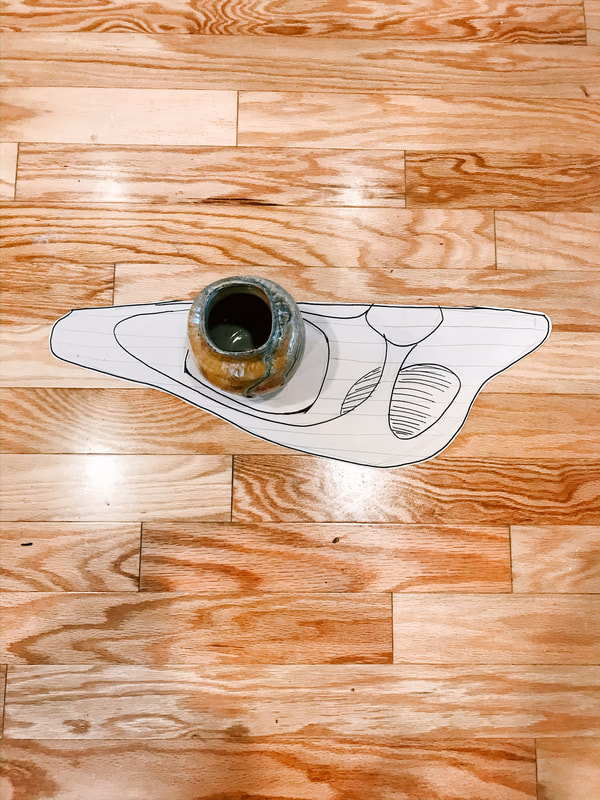 Top View |
The benefit of paper is that it is quick tool to experiment with the look of different sizes of the wooden piece and it's cheap. I also start to try to imagine how I want the wooden lines to glue up. I usually build up a wooden sculpture by gluing up a lot of smaller wooden pieces.
In addition, I try to draw out the different views I would have of the three-dimensional wood piece: front, side, and top perspectives. I will share more about why this is useful in the next lesson.
 |
|
Join my +Wood Educational Series
Here on my blog I share behind the scenes, events, and activities related to my art.
 RSS Feed
Categories
All
Art Exhibition
Behind The Scenes
Coffee + Tea
Collect Art
Customer Reviews
Events
Flowers + Plants
Food
Home Decor
Inspiration
Mug Adventures
New Art Work
#PotsandMemories
Pots In Use
Press
Seasons + Holidays
Soda Firing
Travel + Art
+ Wood
Wood Firing
Workshops
Archives
April 2023
February 2023
January 2023
December 2022
November 2022
October 2022
September 2022
August 2022
July 2022
June 2022
May 2022
April 2022
March 2022
February 2022
January 2022
December 2021
October 2021
September 2021
June 2021
May 2021
April 2021
March 2021
February 2021
January 2021
December 2020
November 2020
October 2020
September 2020
August 2020
May 2020
April 2020
March 2020
February 2020
January 2020
December 2019
November 2019
October 2019
September 2019
August 2019
July 2019
June 2019
May 2019
April 2019
February 2019
January 2019
October 2018
February 2018
September 2017
May 2017
March 2017
February 2017
January 2017
November 2016
March 2016
December 2015
November 2015