
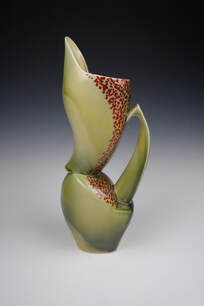
Interview: Jason BohnertCone 10 Oxidation Soda Fire Glazes:
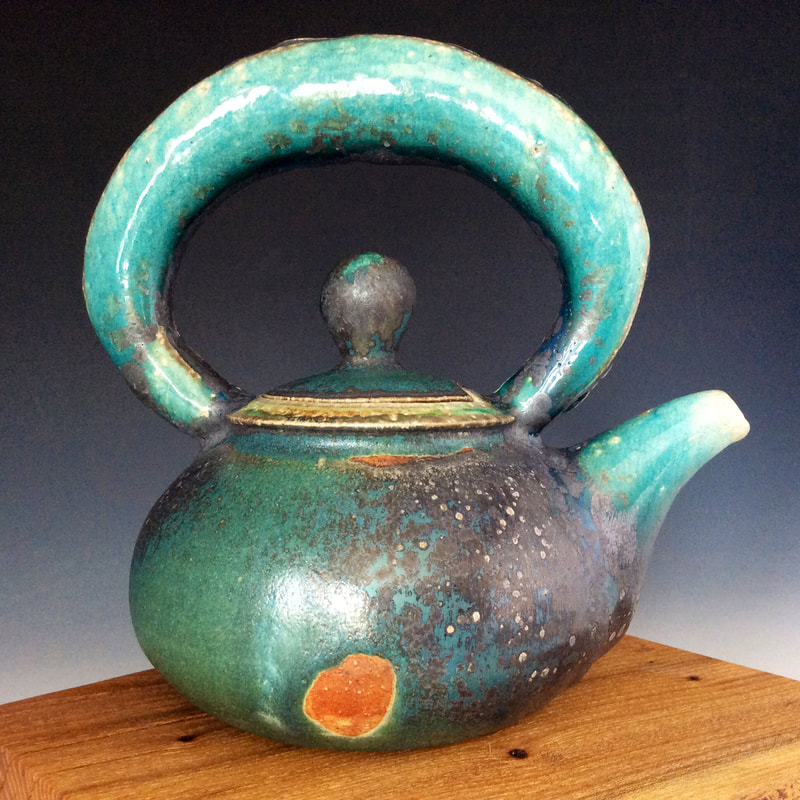
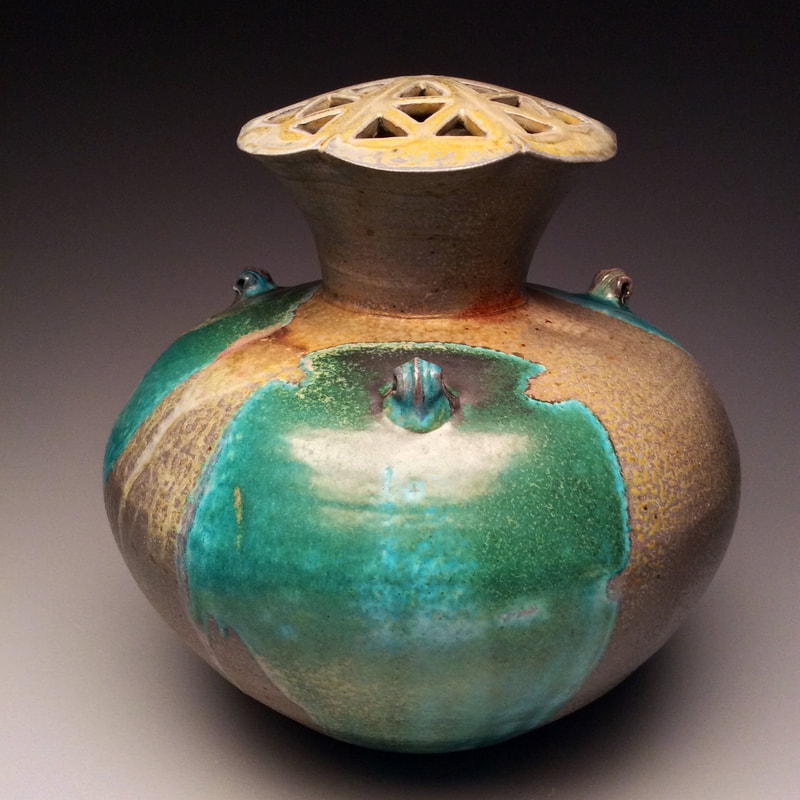
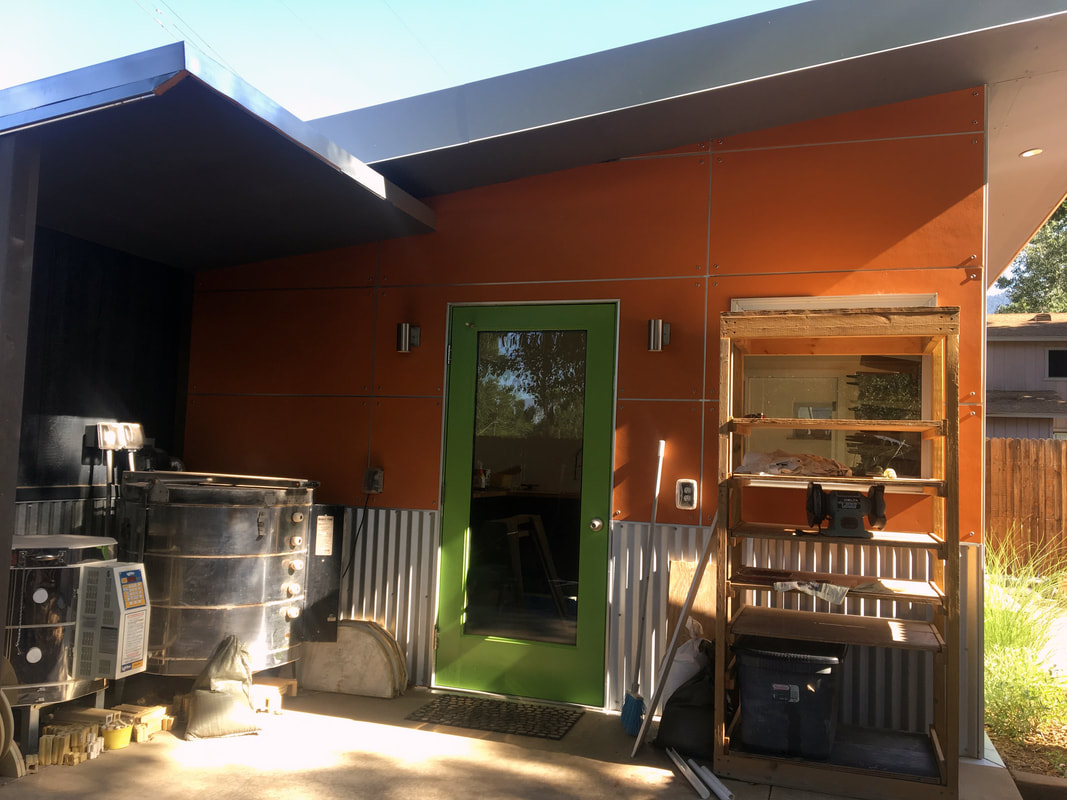
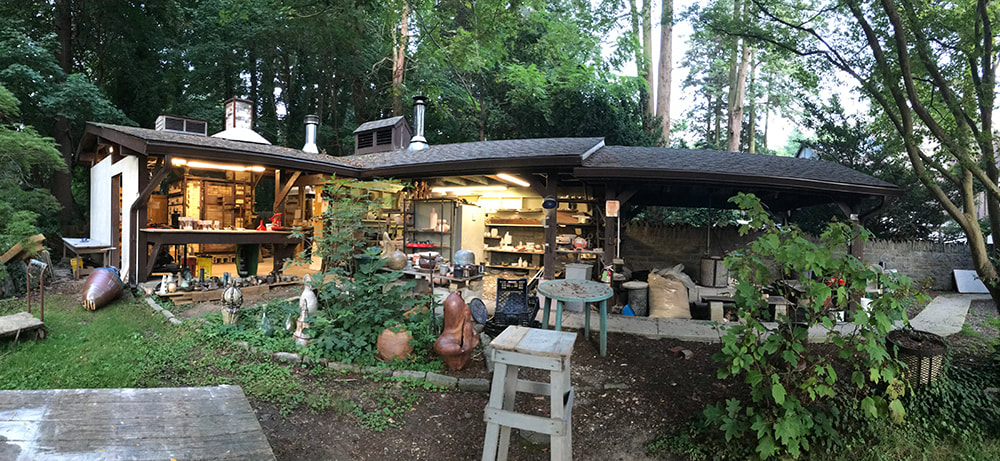
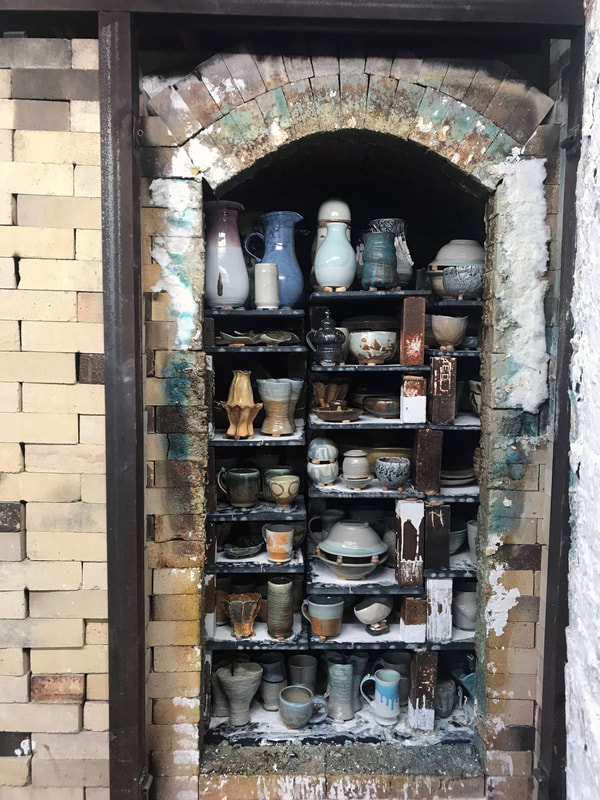
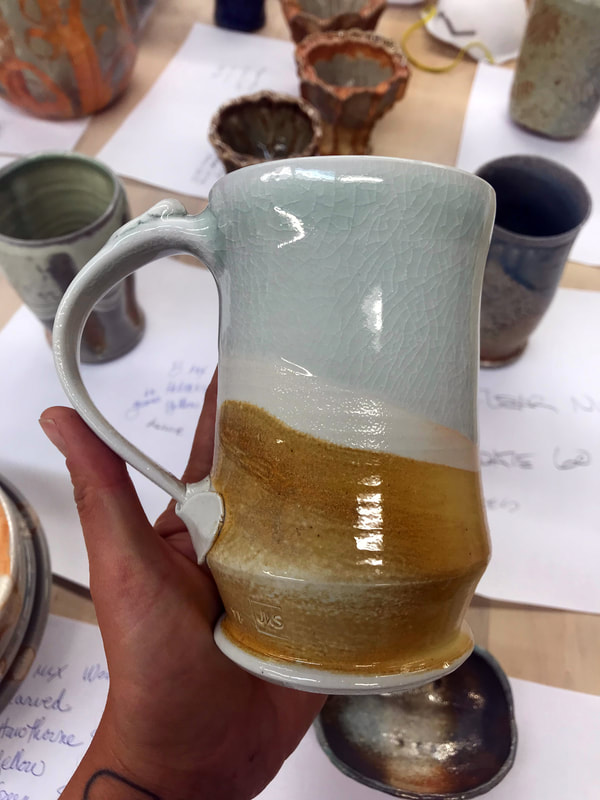
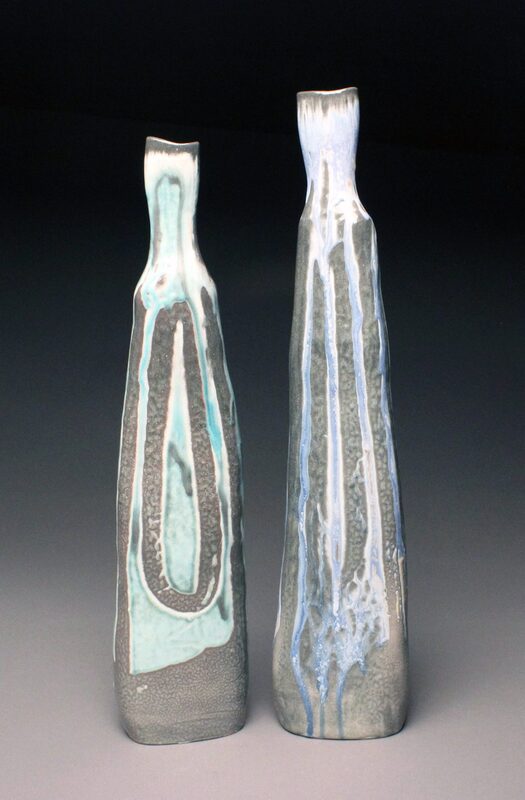
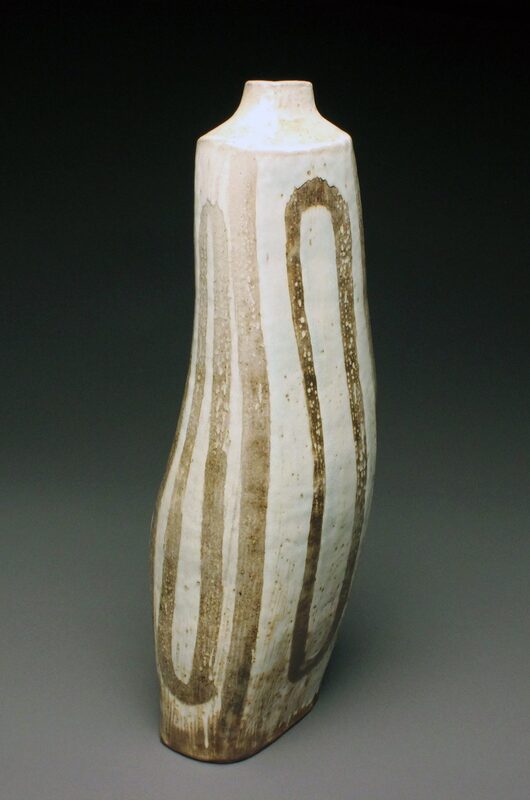
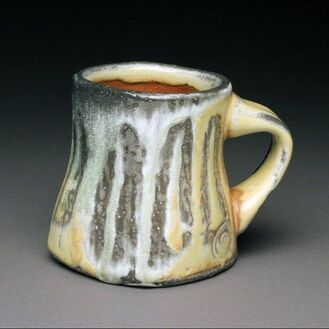
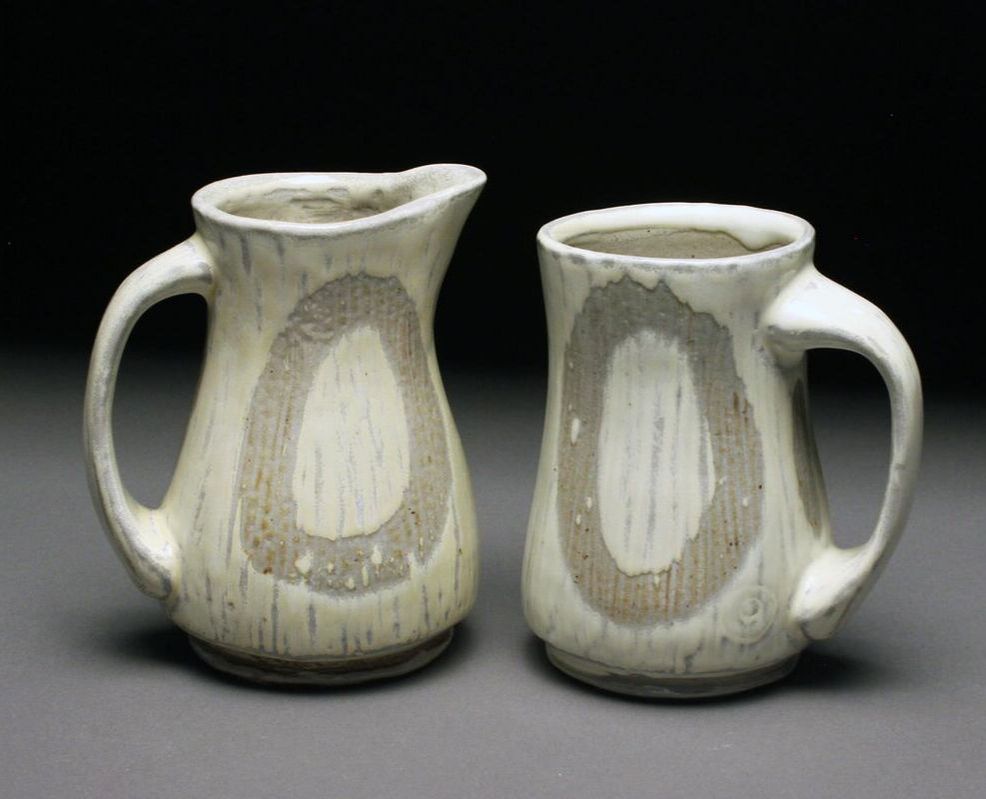
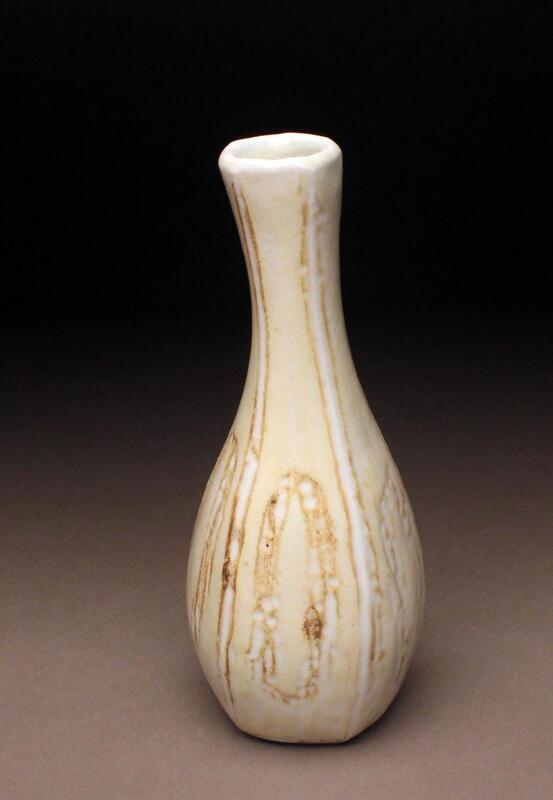
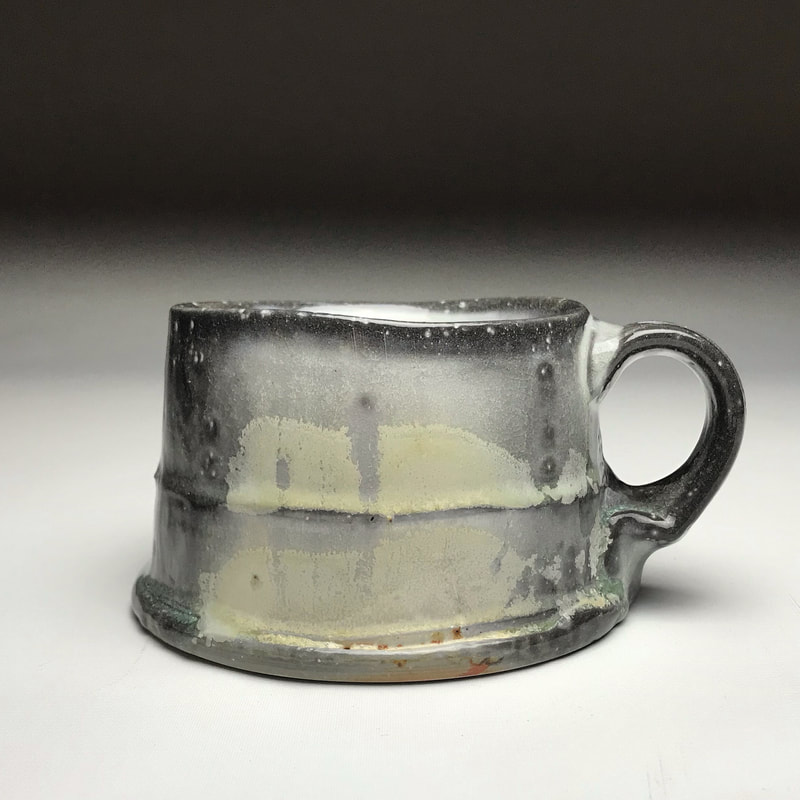
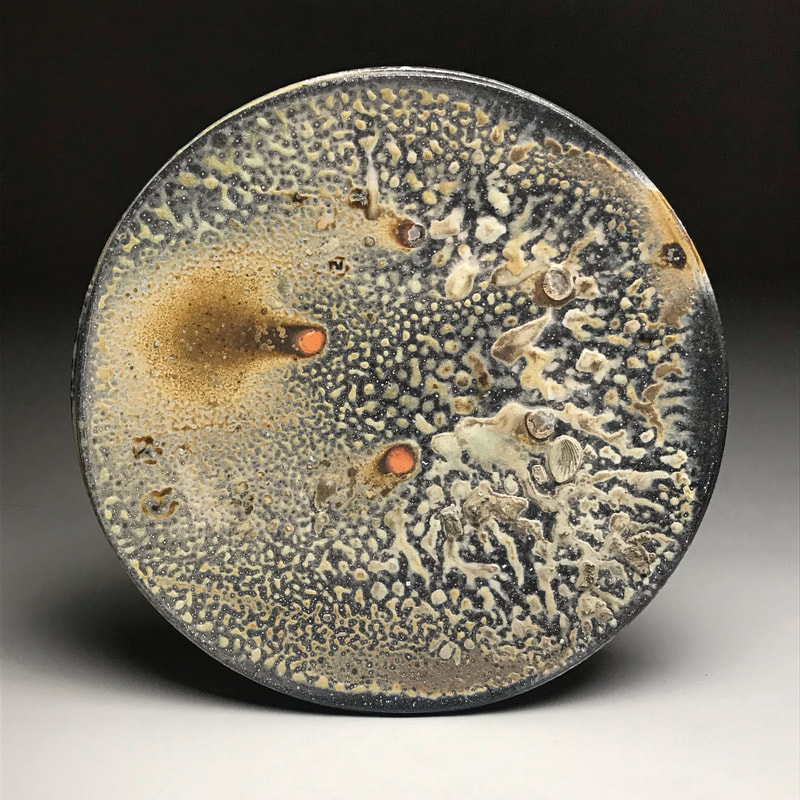
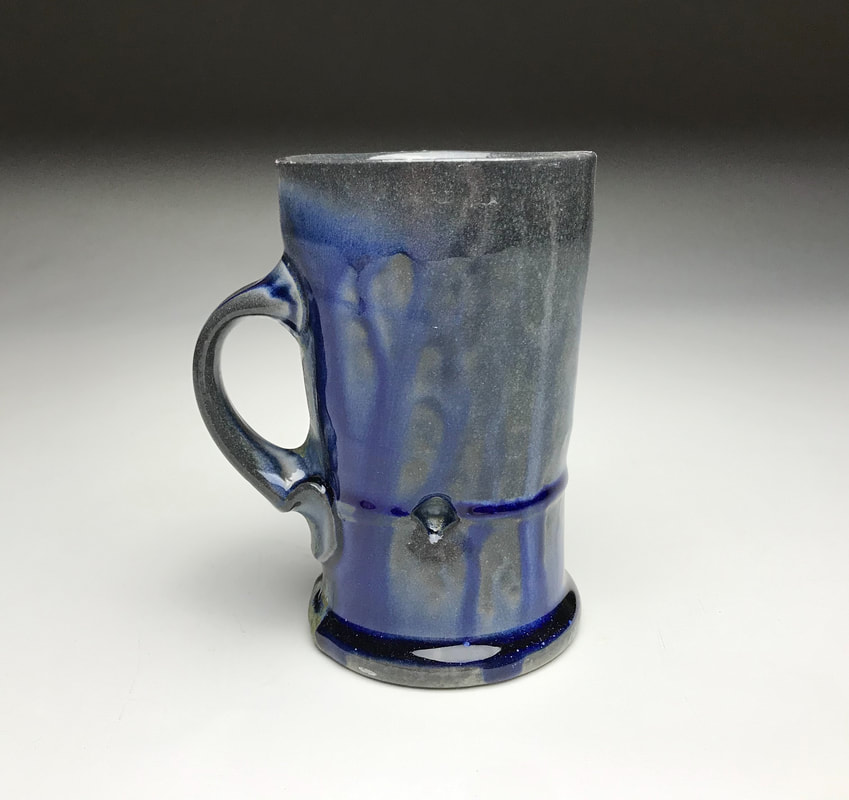
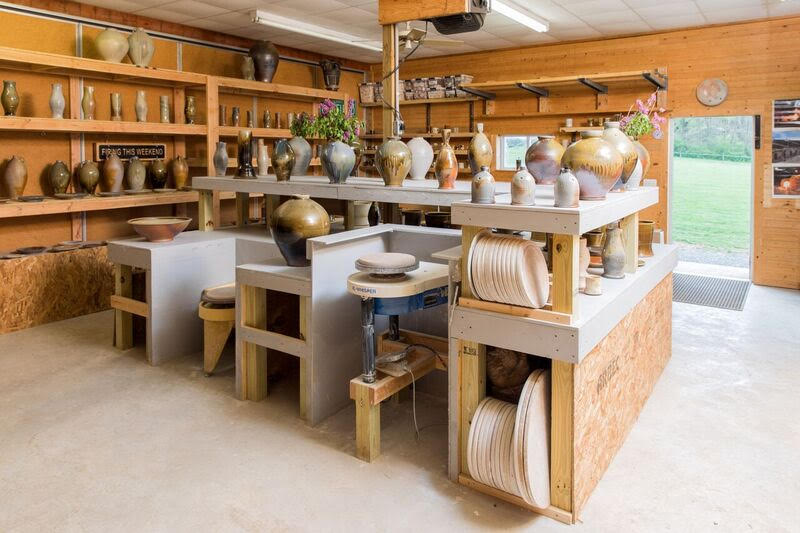
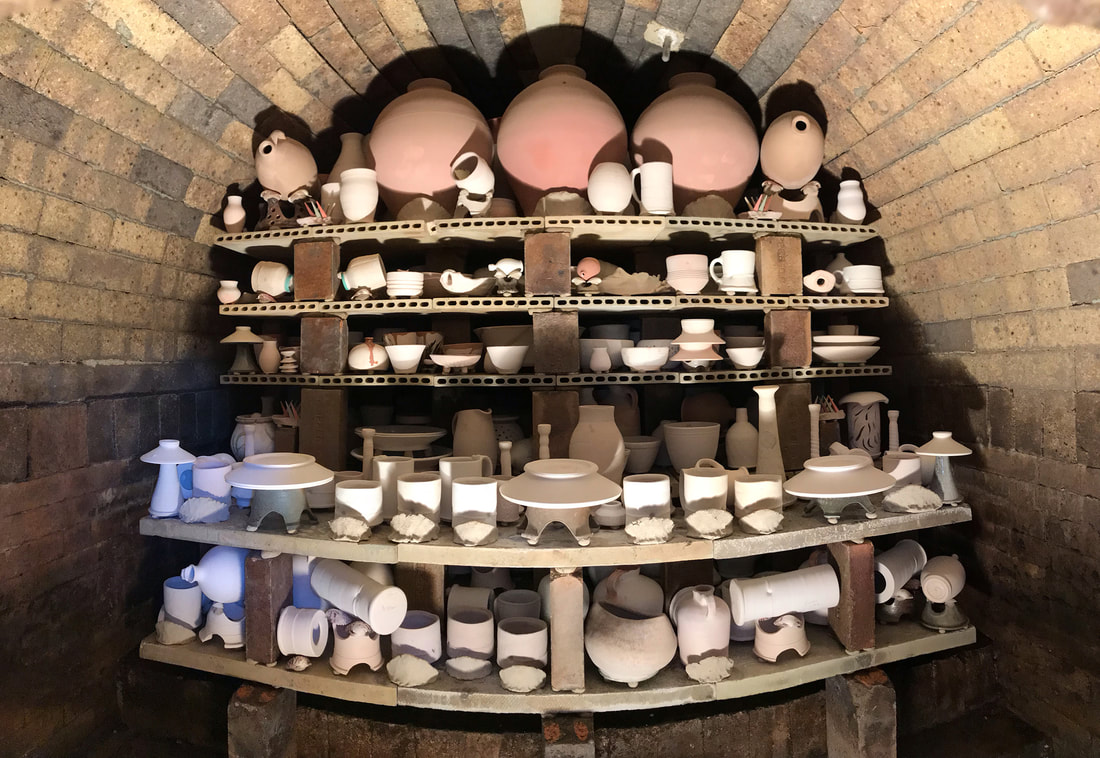
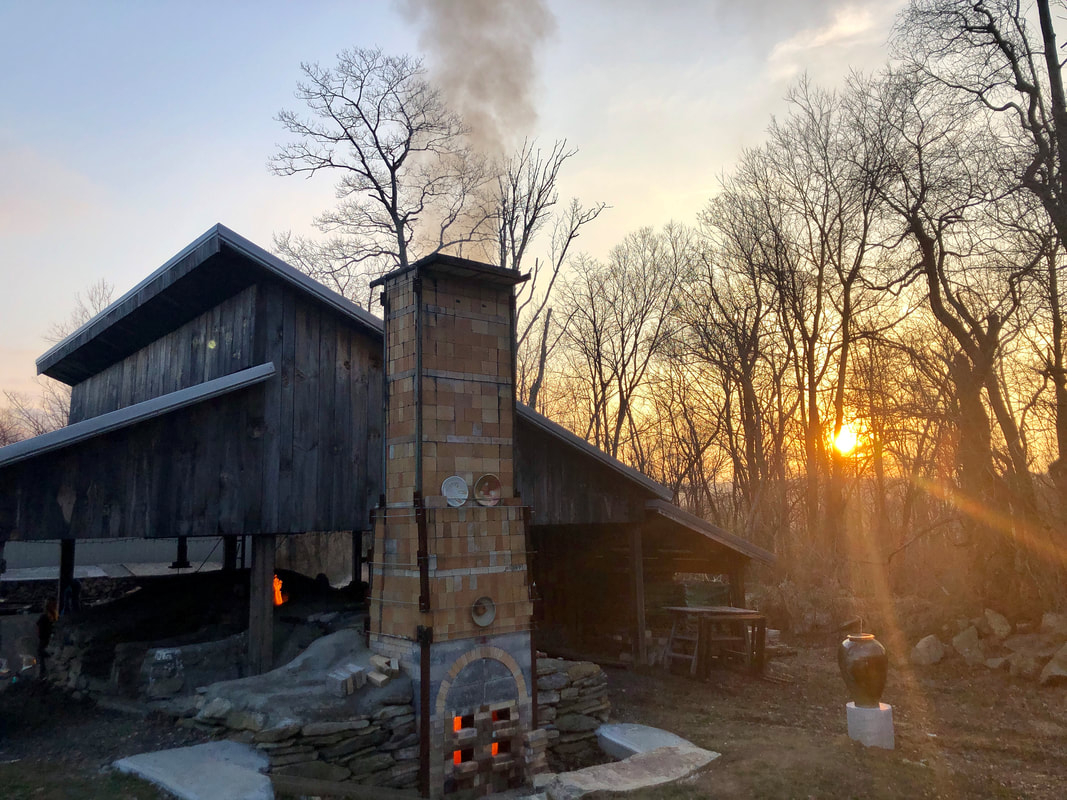
Information about his firing techniques:Why did you choose oxidation soda firing over reduction soda firings? "My work in the soda kiln relies on contrasts between the warm tones of raw clay and flashing slips with yellow, orange, and red hues and vivid cool colors of copper glazes. Using varying glaze recipes and proportions of Copper Carbonate and Copper oxide, along with some Red iron oxide and cobalt, I am able to achieve a range of greens, blues, and purples in a neutral/oxidized atmosphere, once past body reduction. If I continue to reduce the kiln beyond body reduction, especially a heavy reduction, some of these glazes would turn mauve, pink, and red hues, with some blistering, elephant skin, and/or pinholing." How does the color in oxidation soda firing differ from reduction soda firing? "The copper saturate glazes (intended to go green to blue) use between 2-6 or even 8% copper, compared to a Copper Red Glaze, which may only use between ¼-2% Copper Carbonate. Such glazes, in reduction, will not blister or pinhole, and turn a clear to vivid deep bright to blood red hue when fired and applied properly. The Copper Saturate Glazes are not meant to go red, and need a cleaner, neutral to oxidized firing atmosphere to achieve the greens and blues. With the addition of soda in the kiln, the green and blue glazes often appear brighter and have more of a range of colors from the added flux." What Kilns or burners are the easiest to do oxidation soda firings? "I have used both venturi style and forced air, although forced air gives you the most potential for control of air to gas ratios. Wood kilns can easily achieve the ideal neutral atmosphere for these copper saturate glazes as well, but care must be taken not too over reduce during glaze temps. The wood-fire practice of reduction cooling is NOT kind to these Copper Saturate glazes and will almost guarantee extreme blistering, pinholing, and unattractive mauve hues. Avoid these glazes if the goal of the wood firing is reduction. I fired in a cross-draft catenary arch style wood kiln with these glazes and achieved beautiful results." How do you even out a kiln without going into reduction? "The active damper is your friend to achieve even pressure inside the kiln. Using the riostat (blower fan speed adjustments) and air flaps (air volume regulators) along with gas lever (gas volume control), one can balance gas to air ratios, maintaining a neutral/oxidized atmosphere (or whatever atmosphere is desired). I mostly fire in cross draft style kilns, so, in general, pushing the damper in moves the heat to the top; whereas, pulling it out encourages heat to rush across the floor and out exit flues, heating the bottom. Using the damper and reading flames out the bottom spy is a standard gauge for even pressure inside kiln. I like to have a tiny lick of flame out the bottom spy to ensure I have enough for even temps, but not too much, which could stall the climb in temperature or create unwanted reduction." What kind of glazes are best in oxidation soda firings? "I use a lot of shino, amber celadons, blue celadons, temmoku (iron saturate) and copper saturate glazes. When using Copper Saturate glazes in a soda kiln, I typically avoid using them as liner glazes, due to inevitable crazing and the potential for leaching with acidic foods/beverages. Especially when using barium or strontium to brighten copper blue glazes, I keep them on exteriors for color pop, and leave safer glazes on interiors." What’s a typical firing schedule for you, including when do you add soda? "I typically load and light day 1. I will light one burner for several hours, before lighting the other, and then do a turn up or two before bed, allowing a steady preheat. About 5 am I begin hourly turnups until body reduction, which I begin at cone 012/010. I do increase gas and push damper in further and continue body reduction until cone 08 is down. Now I begin increasing the air, using riostat and flaps, to clean up atmosphere to neutral and use damper to create desired pressure (tiny flame out bottom spy). This continues through heating, adjusting air and damper while monitoring evenness top to bottom, until cone 9 begins to fall. At this point I prepare soda to introduce, dry first, then sprayed, until desired amount is used up. The dry soda ash or baking soda is mixed equal parts with soda, whiting, and wood chips/sawdust, and mixed into a thick paste using minimal water, then smeared onto bark or small wood slabs. These are stoked into kiln every 15-20 minutes until gone. I wait until cone 10 is down and sometimes spray some soda ash in water at end, then shut down kiln." About Jason: "I was born in Louisville, KY, did graduate studies at West Virginia University and in Jingdezhen, China, and now reside in Flagstaff, AZ. I’m a Senior Lecturer in the School of Art at Northern Arizona University, where I teach design, drawing, and ceramics. I make pottery at my home studio, which I designed and built myself between fall 2017-present. My work explores organic forms and the architectural details of the vessel. Hues and textures I experience in the natural world are evident in my ceramic surfaces, created from atmospheric firing in wood and soda kilns. I am interested in the shared moments handmade pots can create through daily use, during communal wood firings, shared meals, and rituals of coffee and tea. All wood and soda-fired work is fired to 2400 degrees and is very durable and food safe. Studio visits are welcomed by appointment - Message or email me to schedule." Sign up to continue to be a part of this Soda Fire Educational Series!
Did you know that I travel to teach workshops?
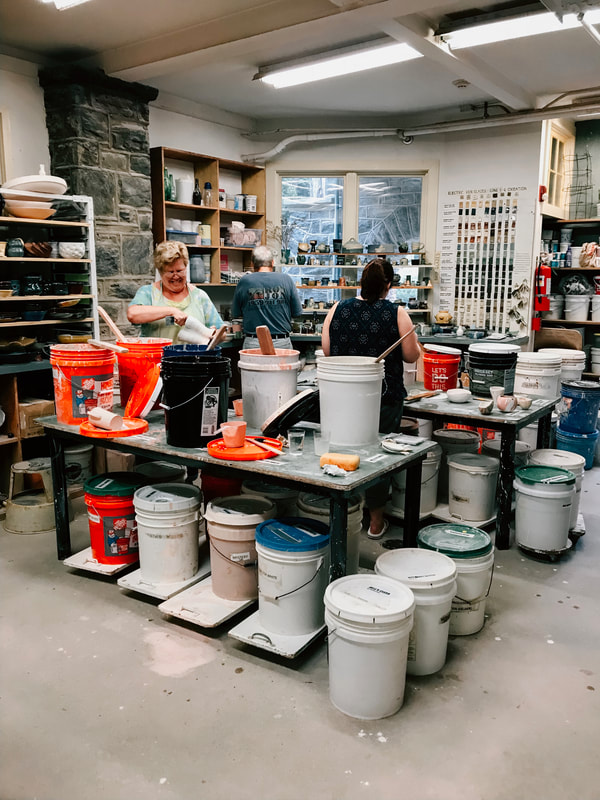
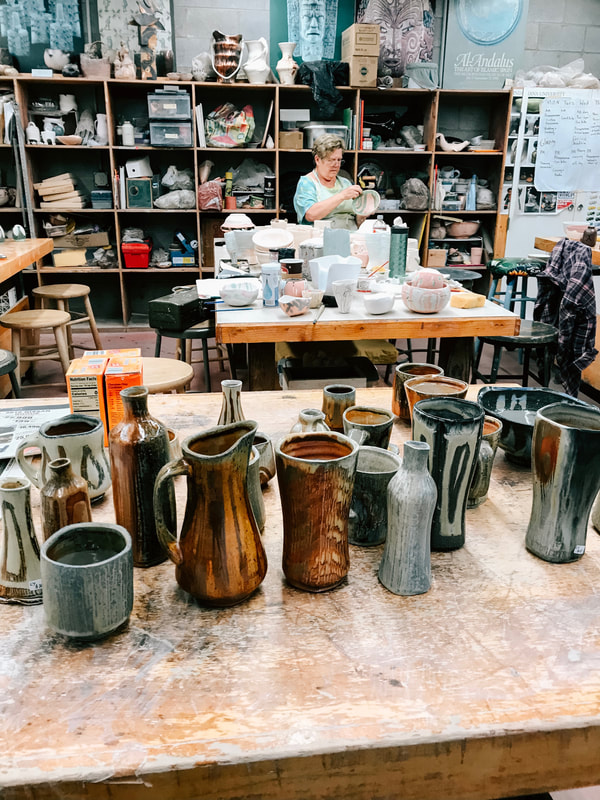
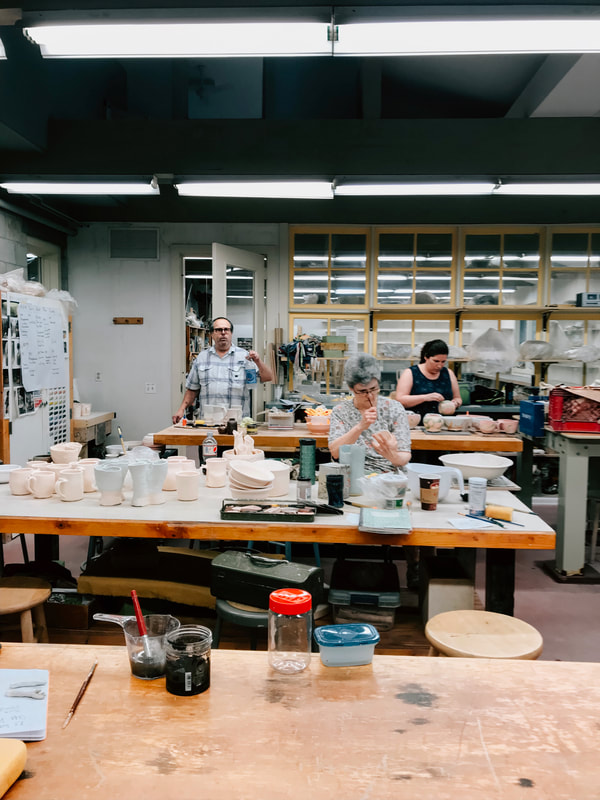
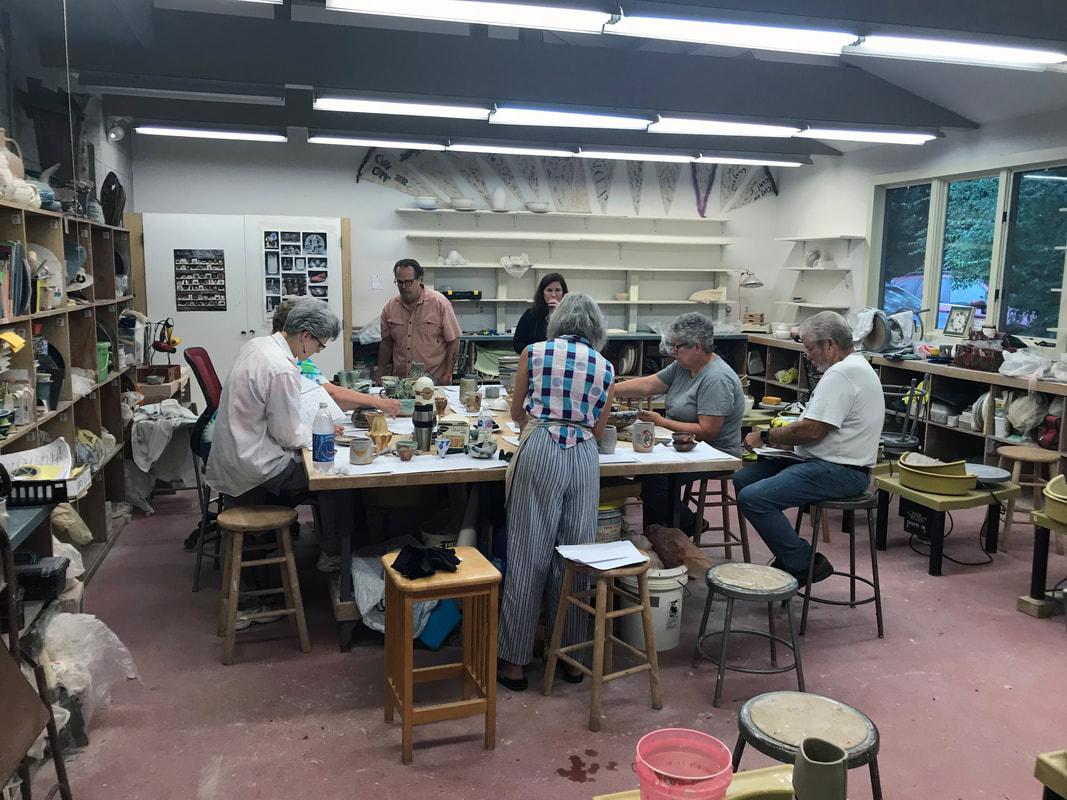
I wanted to share some of the reviews from my most recent soda firing workshop I taught at Community Arts Center in Wallingford, PA. This was a 5 day long workshop.
Feel free to reach out for more soda firing workshop opportunities in the future. My next workshop will be in Minot, North Dakota in October, and stay tuned for more opportunities to work with me in the future. If you like soda firing, make sure that you are on my email list to stay up to date
on my soda fire educational series. Click the button below to join. Ps. I do read your messages, and thought I would answer this readers questions here on my blog so that all of you could learn from it too.
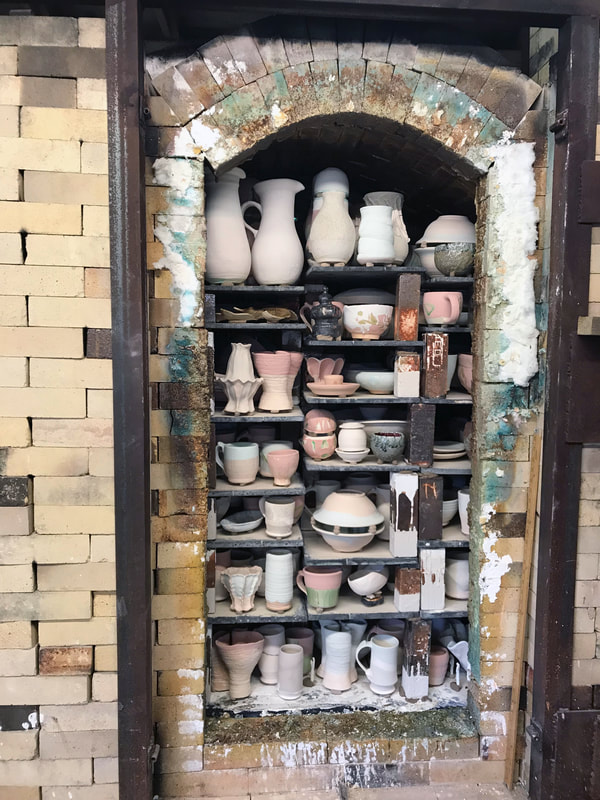
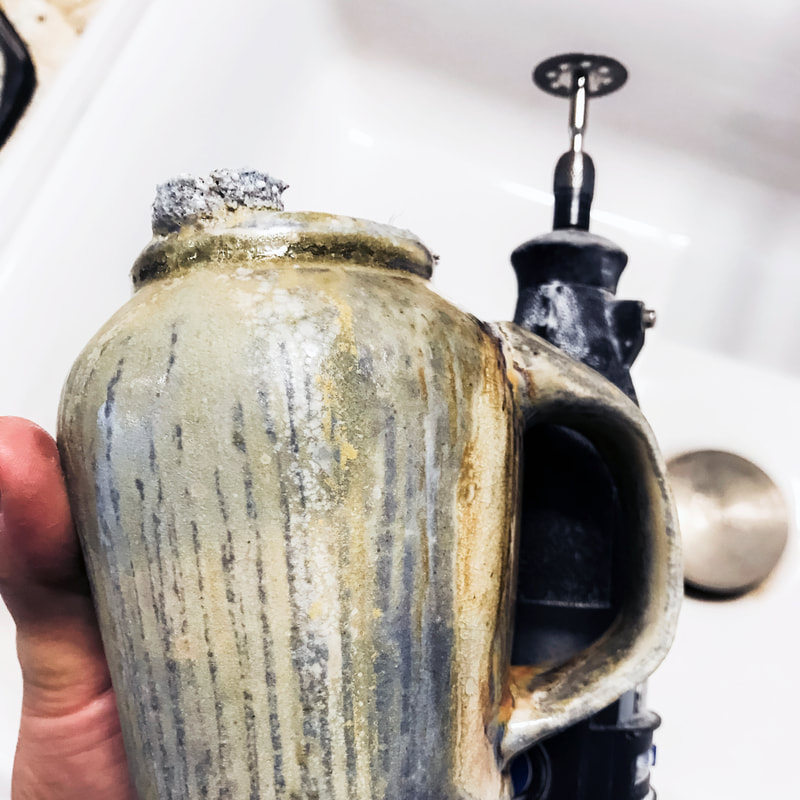
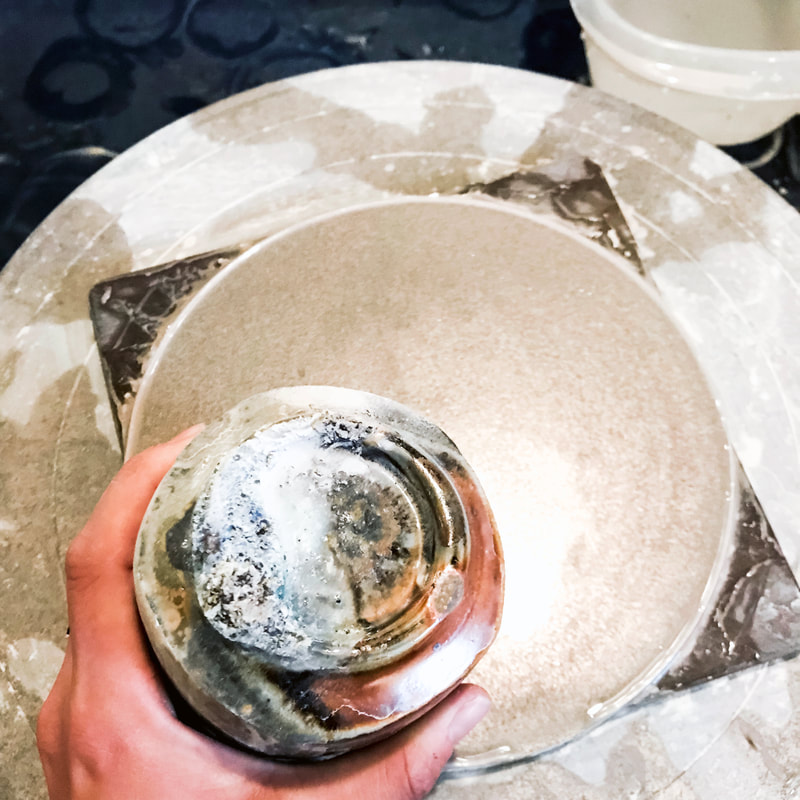
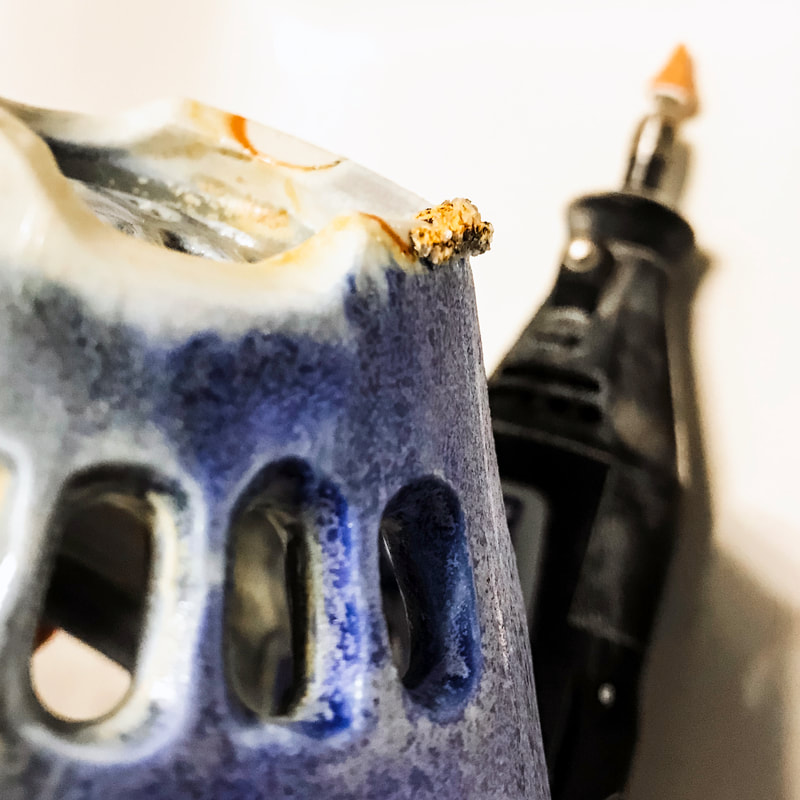
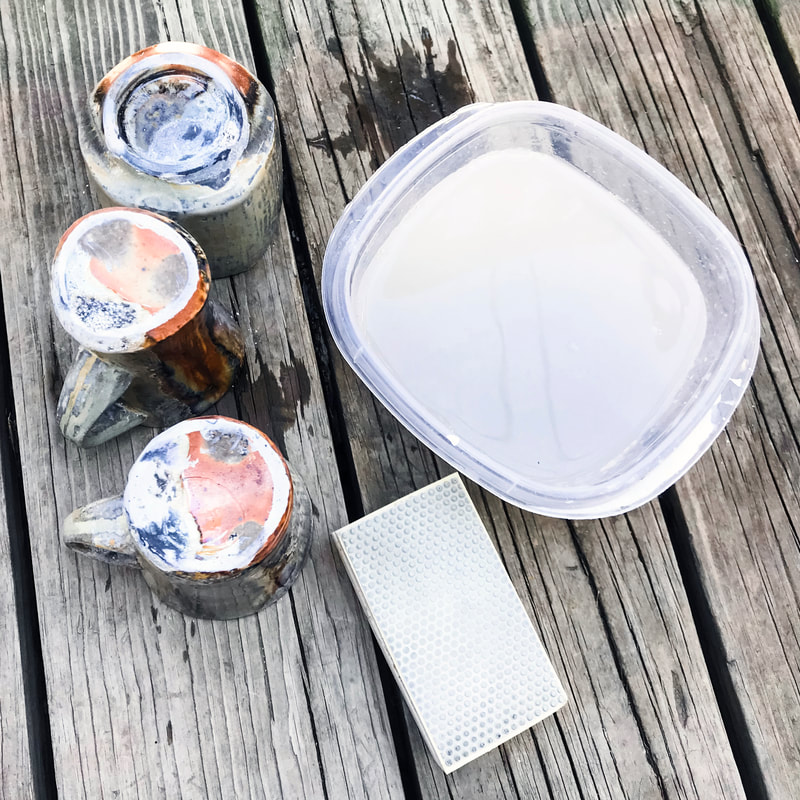
Question: “I would like to hear your thoughts on wadding. For example, how many wads per pot, how large or small the wads should be, what shape they should be, where exactly on the foot should they be placed, etc?” Typically I use 3 wads for everything. Exception 1: I have a 5-sided piece and I want to echo the pattern by placing a wad underneath each corner. Exception 2: the piece is wide…I then use more wads to support the piece. Pea-sized wads are the size wad I use on almost everything. For heavy pieces they might be more like grape sized wads (mostly so they don’t get squished totally flat under the weight). But it’s also an aesthetic choice…you could use bigger wads or use a cookie cutter to make different shapes…I’m not interested in doing that for my work right now. Wad placement should be under the “foot.” This is more obvious when you have a foot ring. When there is no foot ring think about where there is a change in direction from vertical to horizontal…ie where most of the pots weight would go on a counter top. Question: “I think wadding ties into my other area of curiosity--warping! I am focusing on making wide and low forms lately, like planters, and I am wondering the best way to wad them. Should they have an inner and outer ring of wadding? Is that overkill, or necessary to inhibit warping? Should I even be firing these wide low forms in a soda kiln if I am trying to avoid warping?” Yes, wadding can contribute to the issue of warping. I recommend placing a wad about every 2-3 inches along the foot ring of really wide forms such as plates and platters. If wads are placed too far apart it can contribute to the problem of the ceramic piece warping. Another thing to consider is when stacking forms, such as plates, wads should be stacked in alignment with wad above wad. Think about loading a kiln. Posts need to line up one above the other to put less strain on the kiln shelves and carry the weight down through the posts to the floor of the kiln. There are many causes for warping that are not related to wad placement. The way you make and dry a ceramic piece is usually the guiltiest culprit for warping and cracking. More compression and even drying in my opinion is the solution to most clay problems. Spend more time with a rib compressing a slab or bottom of a low wide pot. In general, you will have greater success having a shallow curve and foot ring for a bottom of a wide piece than adding a second inner foot ring. Warping could also be related to needing to leave that bottom a little bit thicker. In addition, a piece may have started to warp because of uneven drying depending on the piece this may not become apparent until the final firing. Another solution is addressing the clay body. Certain clays will warp like crazy when fired slightly above cone 10. Adding a grog could also strengthen the clay and reduce its chance of warping. So you may need to look for a different clay body to use that’s better for low wide forms. All forms are more at risk of failing in a soda kiln over an electric kiln. Don’t be discourage…I fire lots of low wide forms in the soda kiln. To Sum it up it’s a matter of problem solving the combination of these elements: better shape, compression, even drying, clay body, and wad placement. Please keep sharing questions you might have about soda firing. If I can't answer your question I'm sure I can find an artist to interview to answer the question for both of us. Plus it might be a topic in my soda firing educational series just waiting its turn to be release.
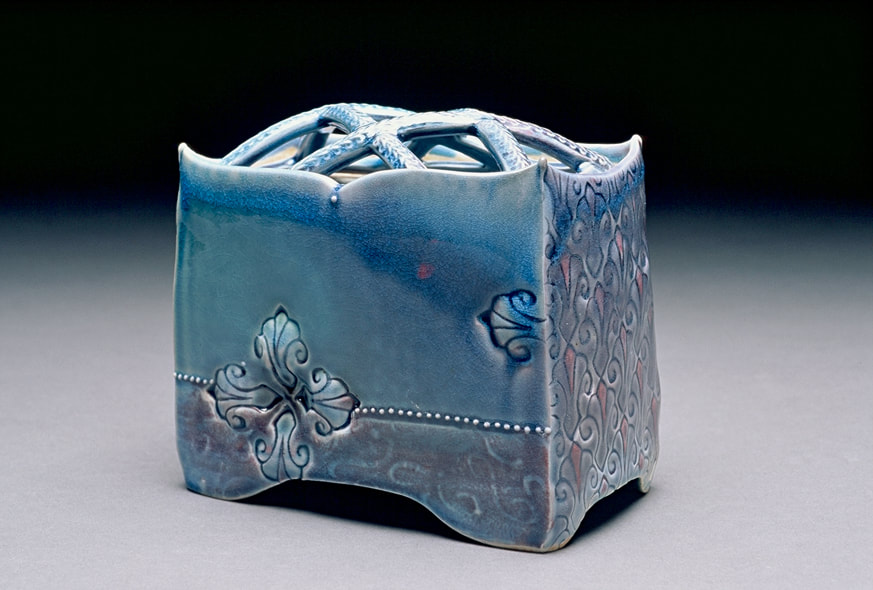
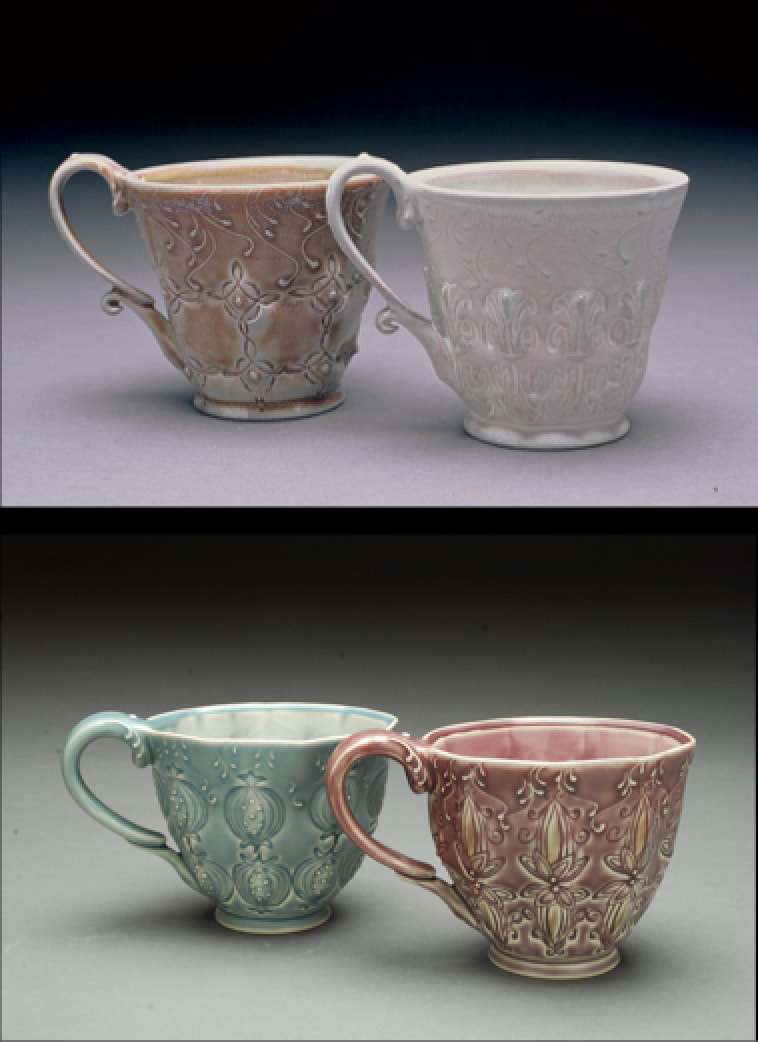
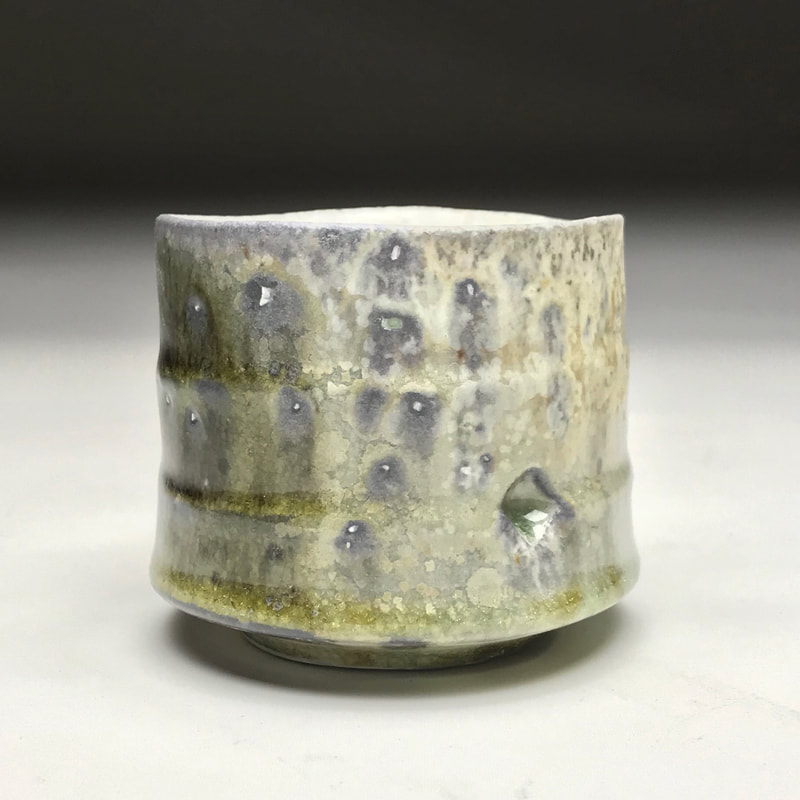
What color saturation do you like?
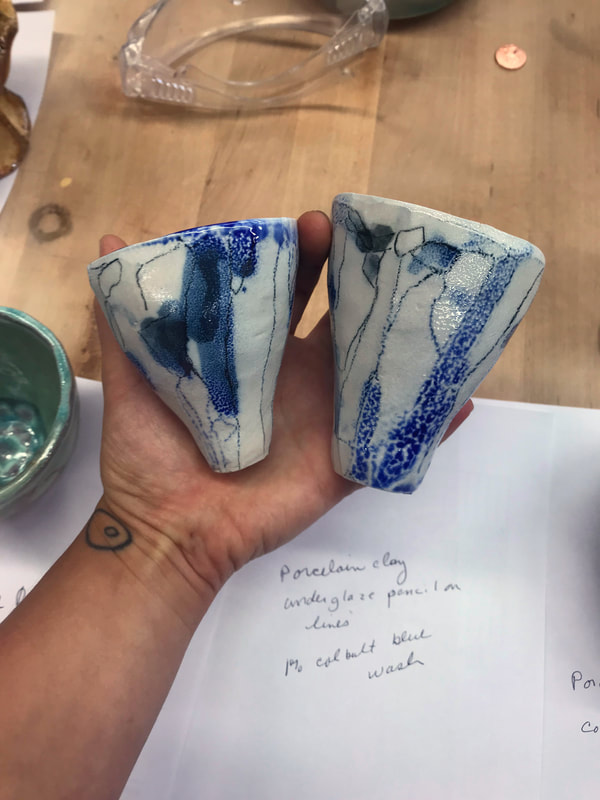
Orange Peel surface texture can happen in both soda and salt firings. If you desire to obtain orange peel surfaces select a clay body that contains a lot of silica sand, or add additional silica sand.
Artists Who Used to Soda Fire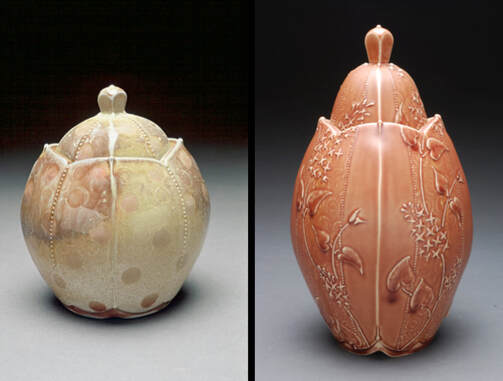 Left: Soda Fired Jar 2005 Right: Electric Fired Jar 2007
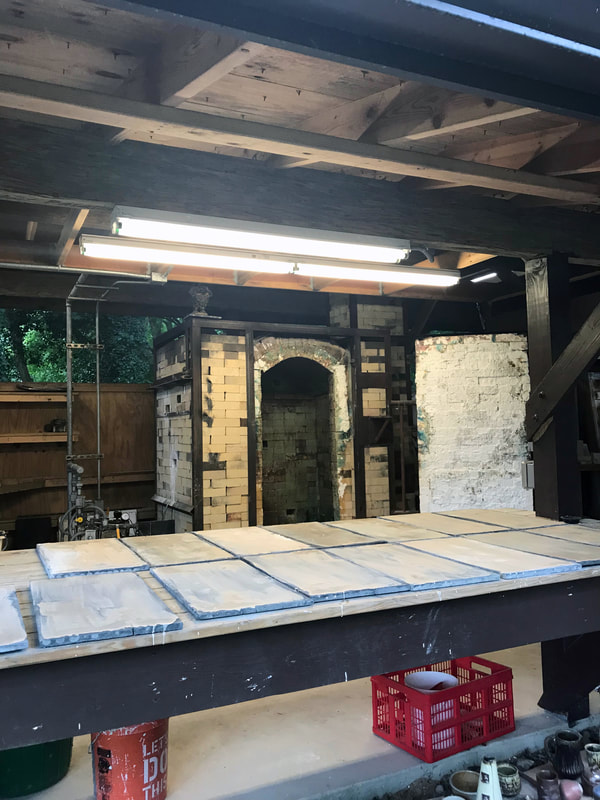
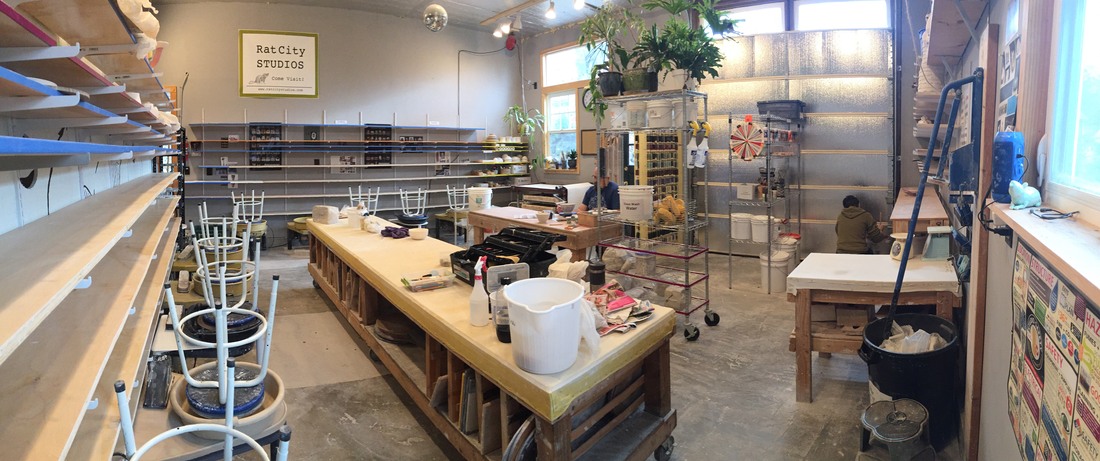
Anagama Soda Kiln
Artists Who Used to Soda Fire
What attracted you to soda and salt firing? "Seeing other people’s results. I wanted the variation that the introduction of soda offered. I was still learning to use glaze and this felt like the kiln was on my side! I also enjoyed having more interaction with the firing process. I fired oxidation so I was constantly adjusting to keep the kilns from reducing and adding salt or soda at the end felt like a finale. " What aspects do you miss and not miss about soda firing? "I do not miss much... The kilns I had access to were challenging to keep in oxidation and keep even. And the soda would often remove glazing decisions that I made and wanted… The kilns I had access to were quite old and would spald off bits of debris… I do not miss that. I miss firing the kiln. (pushing the start button is nice, but much less interaction). I miss having a large kiln to fill. I miss the interaction of sharing a large kiln. And I miss wadding pots and group loadings. I just got a bunch of brick from an old gas kiln. So in a year or two I may be building a new soda kiln!" What aspects of soda firing do you reference in your current work? "I have chosen to fire cone 6 electric. This shift to a lower temp happened when I got my own studio. Installing an electric kiln was much easier in a smaller private city space than a gas kiln. And much more affordable. Now I love it! I spray layers of glaze to create the variation I enjoy. Initially I sprayed a soda ash solution. Then moved on to a more fluxed out glaze… Like a clear. Now I use lots of different glazes. I spray a whole ware board of pots at a time…" Click here to read more about this process.
All Photo credit belongs to Deborah Schwartzkopf Click the button to join my Soda Firing Educational Series
|

Hi, I'm Lisa the artist and creator of this content.
Here on my blog I share behind the scenes, events, and activities related to my art. GET INSPIRATION AND SPECIAL DEALS DELIVERED STRAIGHT TO YOUR INBOX!
Categories
All
Archives
April 2023
|


 RSS Feed