LISA YORK ARTS
  • Shop
  • About
  • Ceramics + Wood
  • Connect
  • Blog
  • Shop
  • About
  • Ceramics + Wood
  • Connect
  • Blog
Search

Kitchen Remodel: Shiplap and Floating Shelves

12/4/2020


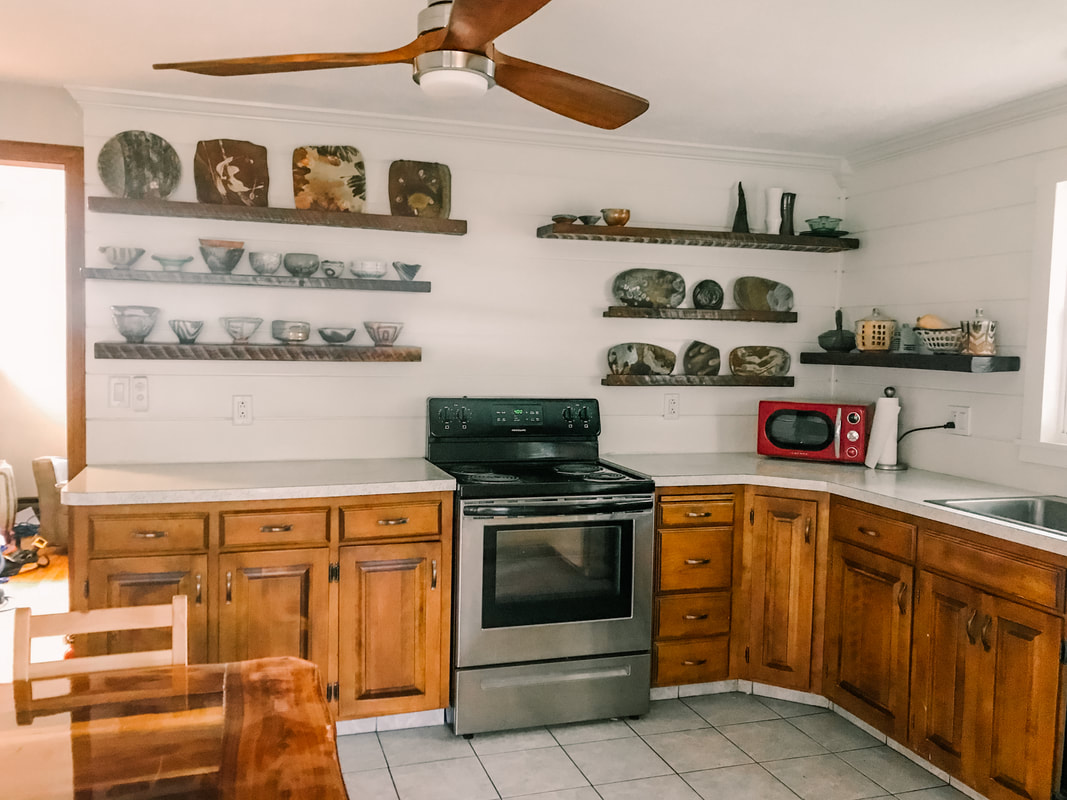
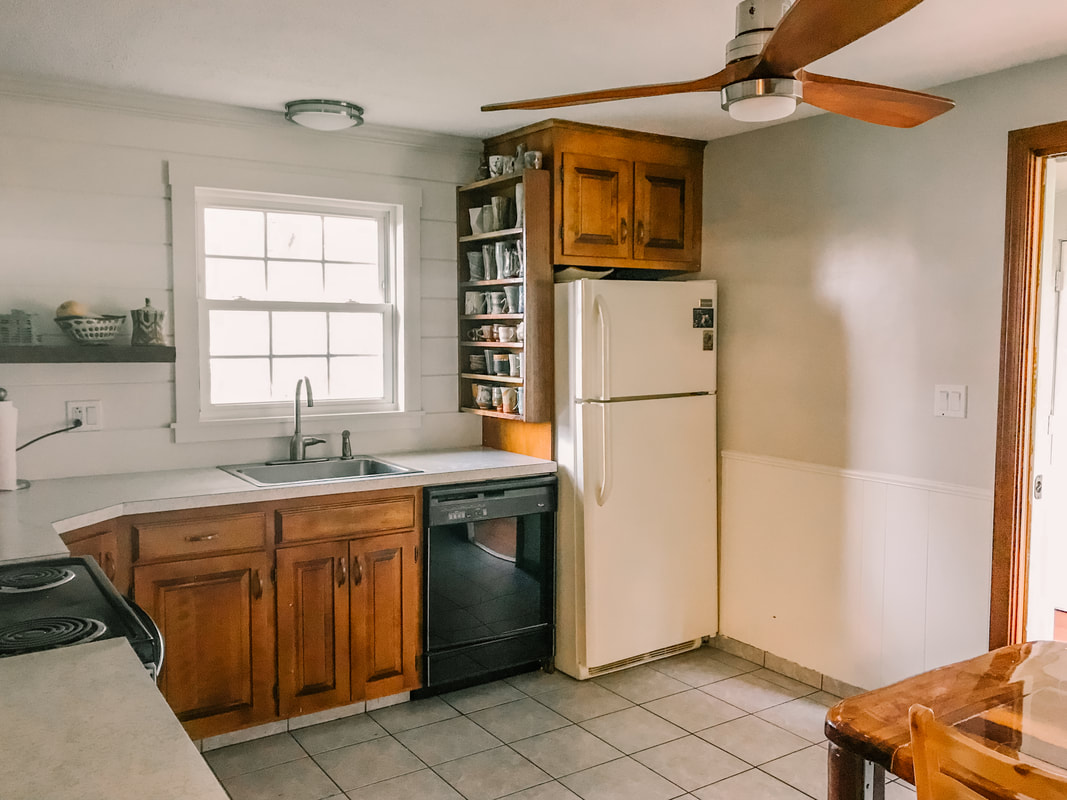
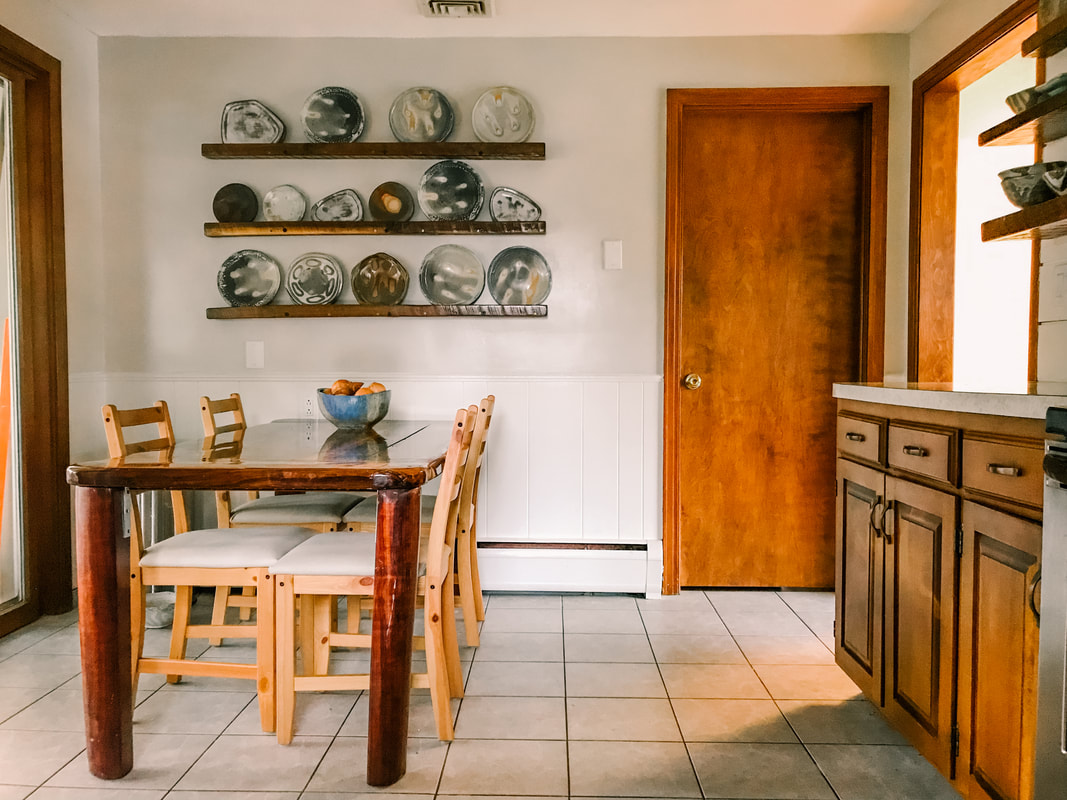
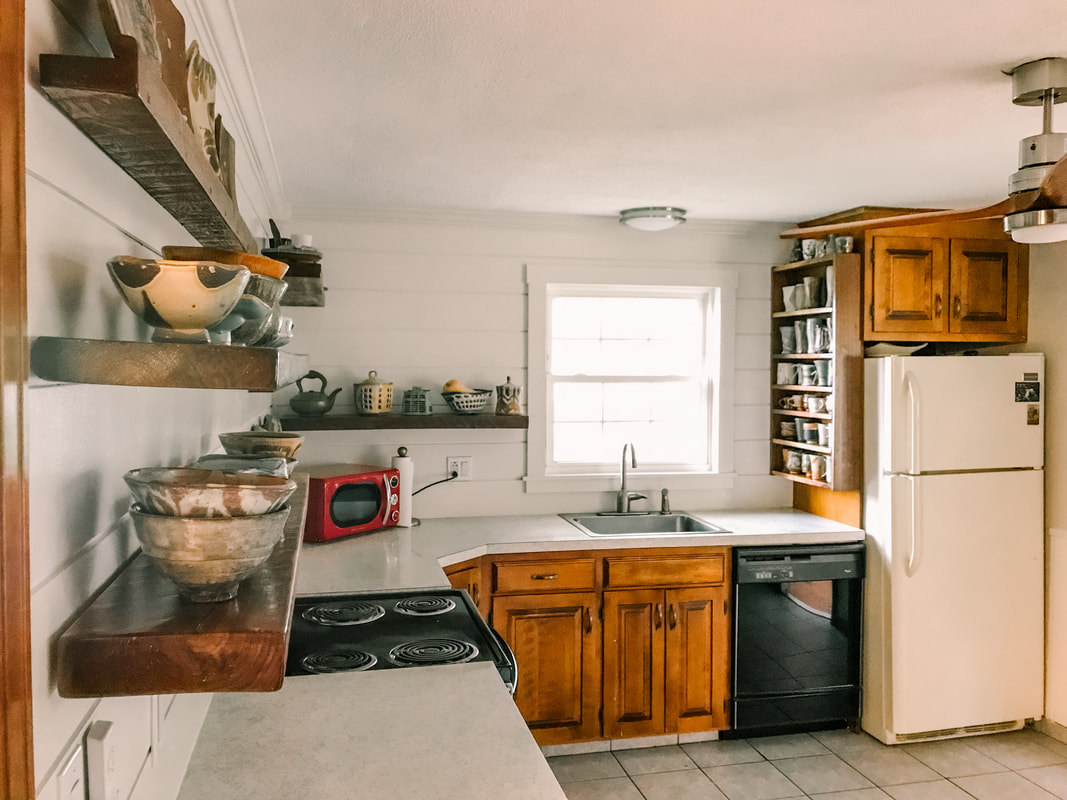
Create a kitchen focused on displaying your pottery collection.

Picture
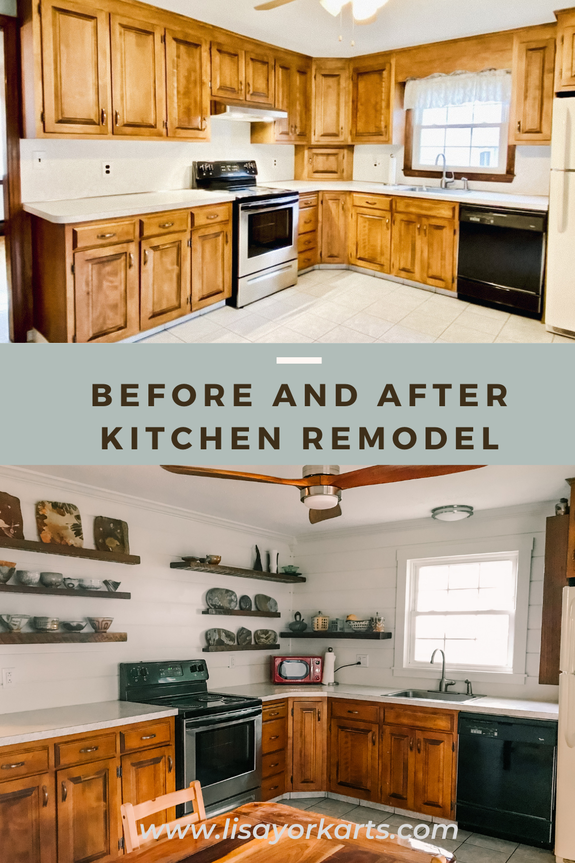
We were on a tight budget with this kitchen remodel, and wanted to spend less than $1000 to give it the rustic cottage kitchen feel that we love so much. And let's be honest, I loved exposed shelving to show off my pottery collection.

Click read more to see more pictures, and the changes we made to the space.
Before
Picture
After
Picture
Picture
Picture
Picture
Picture
Picture
Picture
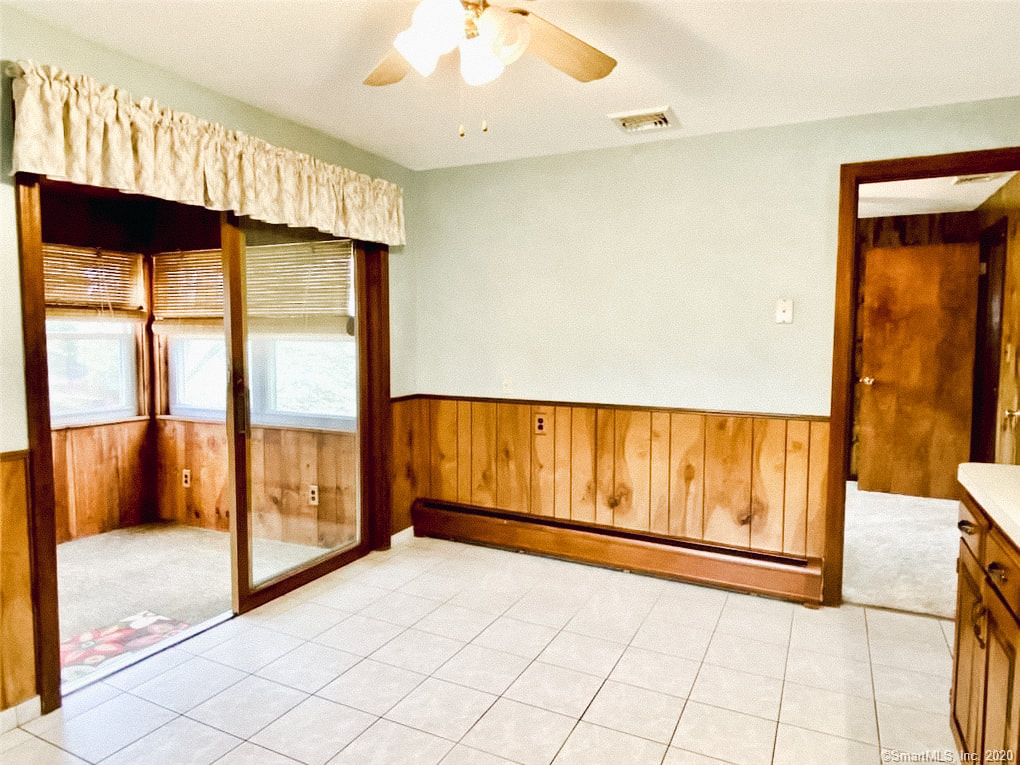
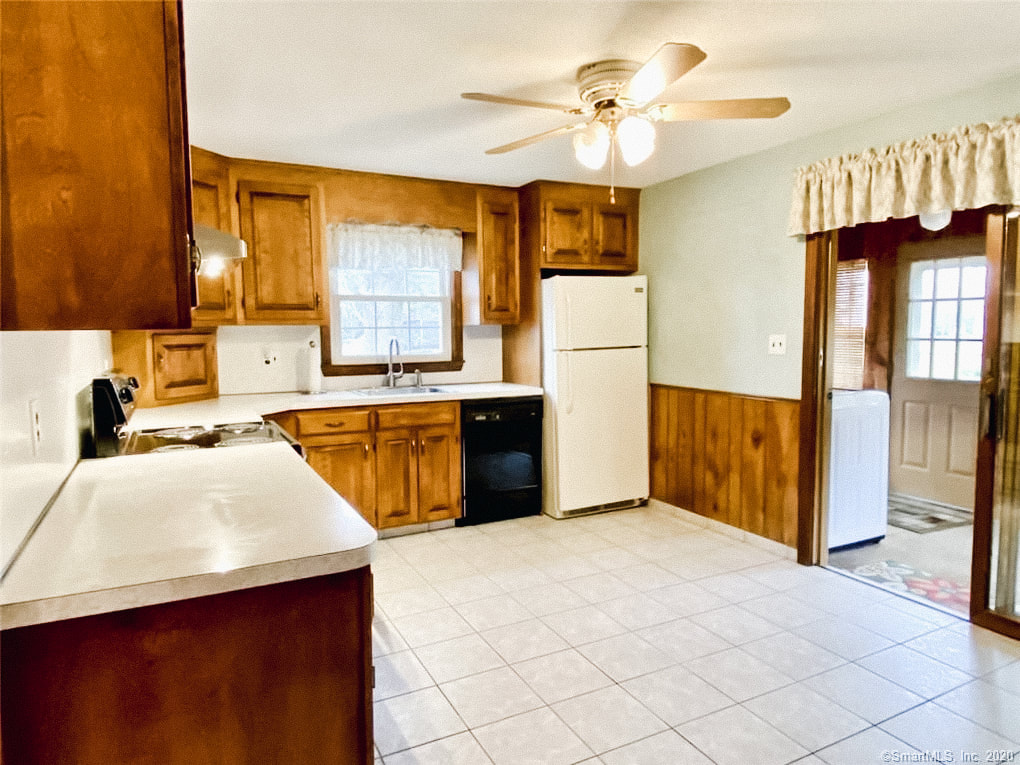
The changes we made to the space:
  1. Remove the granny curtains.
  2. Remove the upper cabinets (except the one above the refrigerator).
  3. Add Shiplap, crown, window trim where upper cabinets used to be.
  4. Drywall repairs and new paint.
    1. The before picture really does not show how ugly that green wall color was with it's sponged texture.
    2. Painting the lower wood paneling white helped balance out the white of the shiplap walls.
    3. Our colors were Benjamin Moore Balboa mist (gray) and Dove (white).
  5. Use steel brackets to install floating black walnut shelves.
  6. Updated fan and light fixture above the sink.

What next:
We still hope to replace the appliances in the future, but like I said we were on a tight budget so we hope to get a few more years out of these mismatched appliances. We still have a couple gaps in the spacing of the shelves that we hope to add some artwork. Who knows how long it will take us to agree on buying art for those spaces. Phase 2 of remodel which will happen much farther down the road is to replace the lower cabinets, and tile flooring...but in the meanwhile both of these items are functional and with our remodel now feels like an intentional vintage kitchen look. And we might paint all the trim white, and hope to eventually install mission style doors throughout the home rather than the hollow core doors.

In summary, the expenses were: paint, light fixtures,  and wood. Plus all those miscellaneous items like nails for the air gun, caulk, painters tape, steel hanging hardware, and as well all know those expenses add up as well.

Ps. Are you looking to grow your pottery collection?
Then check out my pottery in my online shop by clicking  Here. Be sure to join my email list to be the first to know about the next shop updates by clicking Here.
    Picture
    Hi, I'm Lisa the artist and creator of this content. 
    Here on my blog I share behind the scenes, events, and activities related to my art.

    GET INSPIRATION AND SPECIAL DEALS DELIVERED STRAIGHT TO YOUR INBOX!

      Join Now

    Subscribe

    RSS Feed

    Categories

    All
    Art Exhibition
    Behind The Scenes
    Coffee + Tea
    Collect Art
    Customer Reviews
    Events
    Flowers + Plants
    Food
    Home Decor
    Inspiration
    Mug Adventures
    New Art Work
    #PotsandMemories
    Pots In Use
    Press
    Seasons + Holidays
    Soda Firing
    Travel + Art
    + Wood
    Wood Firing
    Workshops

    Archives

    October 2021
    September 2021
    June 2021
    May 2021
    April 2021
    March 2021
    February 2021
    January 2021
    December 2020
    November 2020
    October 2020
    September 2020
    August 2020
    May 2020
    April 2020
    March 2020
    February 2020
    January 2020
    December 2019
    November 2019
    October 2019
    September 2019
    August 2019
    July 2019
    June 2019
    May 2019
    April 2019
    February 2019
    January 2019
    October 2018
    February 2018
    September 2017
    May 2017
    March 2017
    February 2017
    January 2017
    November 2016
    March 2016
    December 2015
    November 2015

  • Shop
  • About
  • Ceramics + Wood
  • Connect
  • Blog