Interview: Jason BohnertCone 10 Oxidation Soda Fire Glazes:
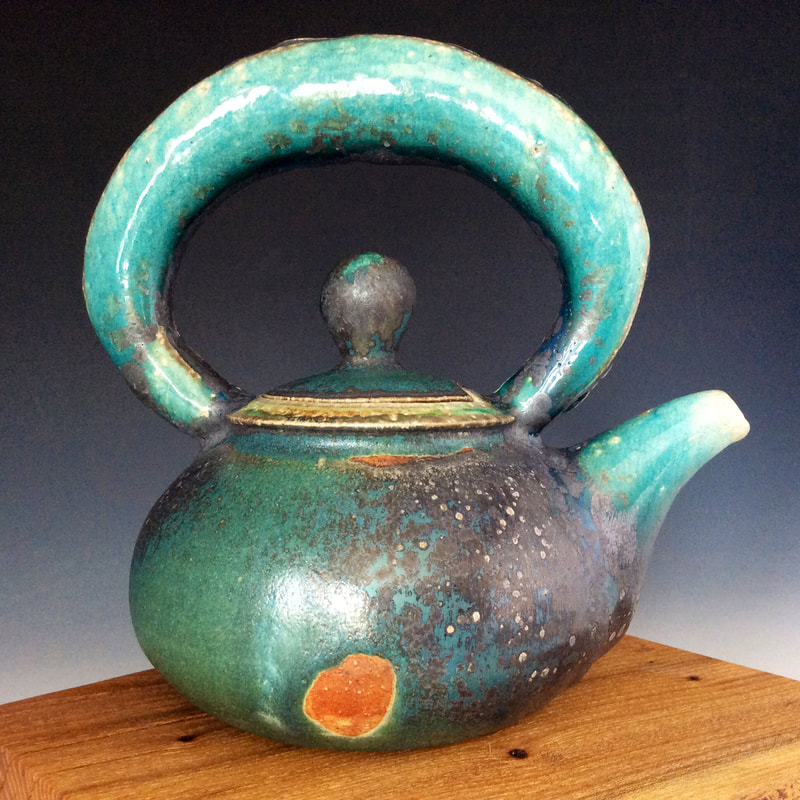
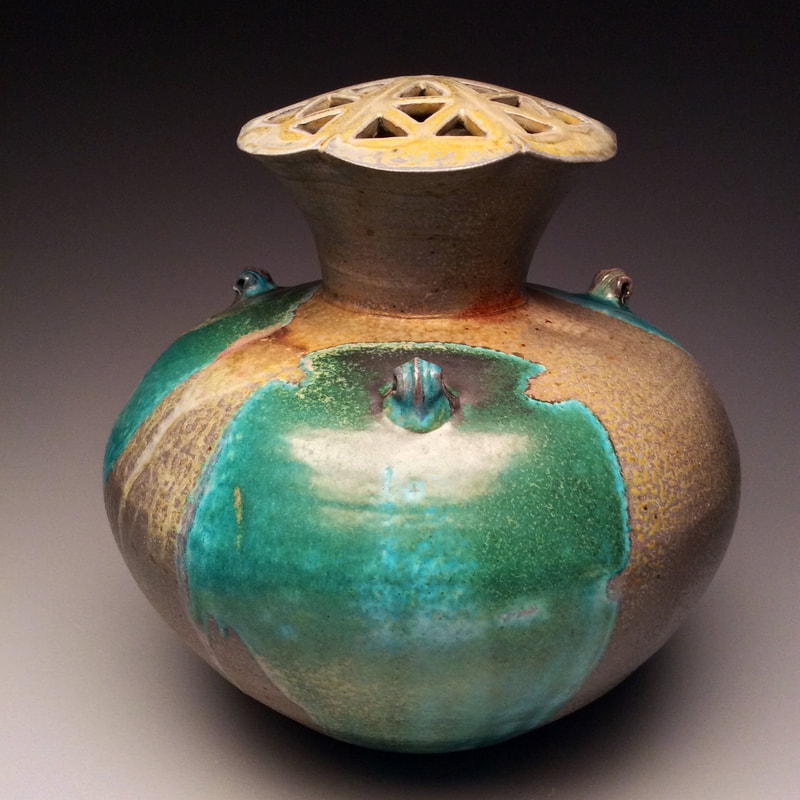
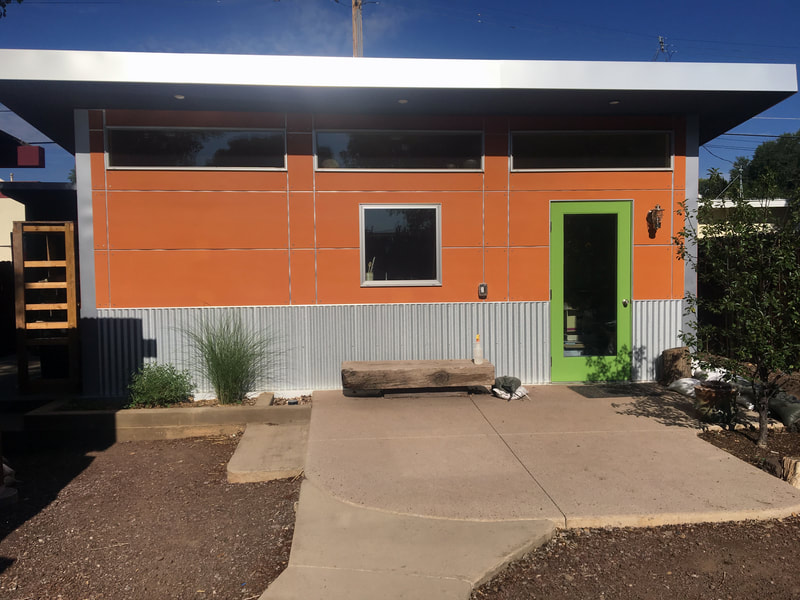
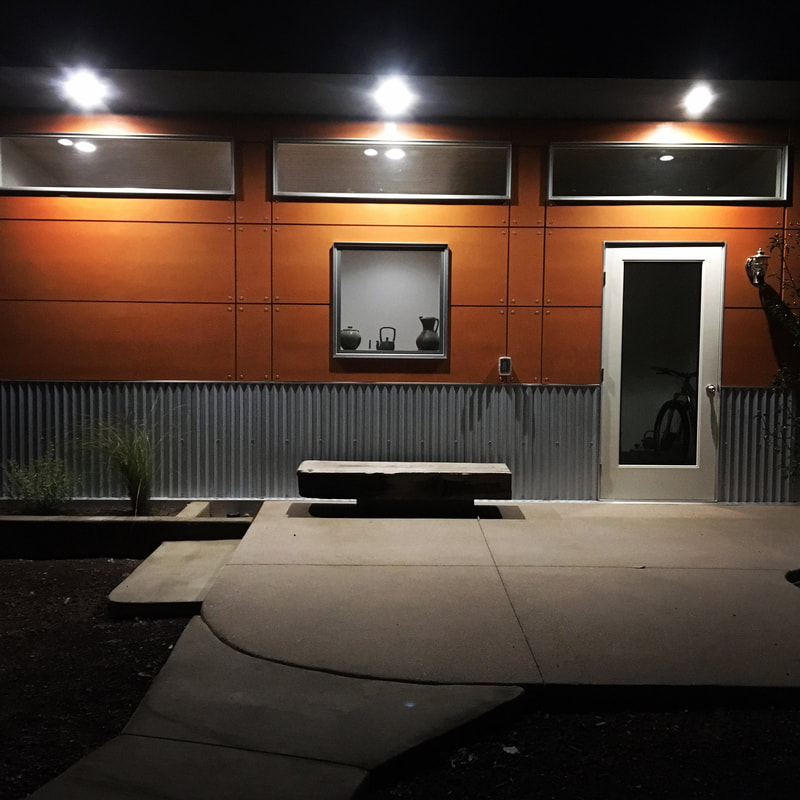
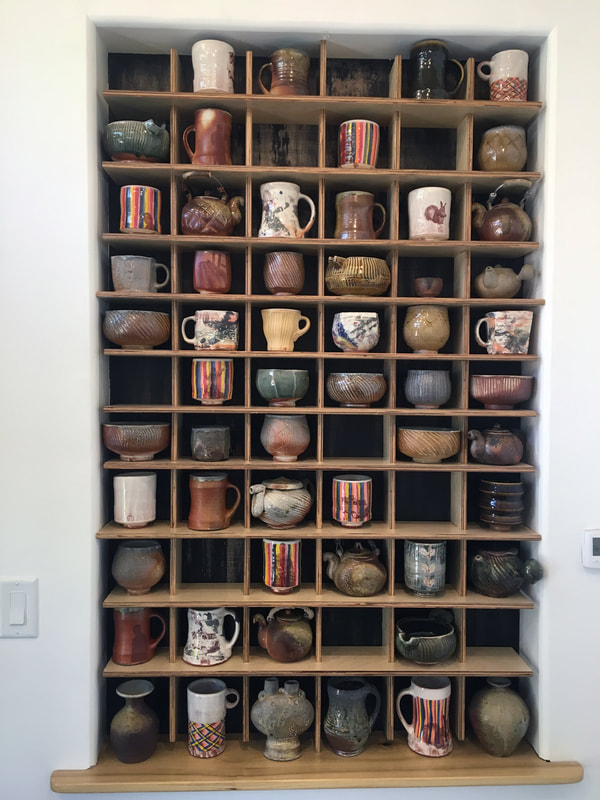
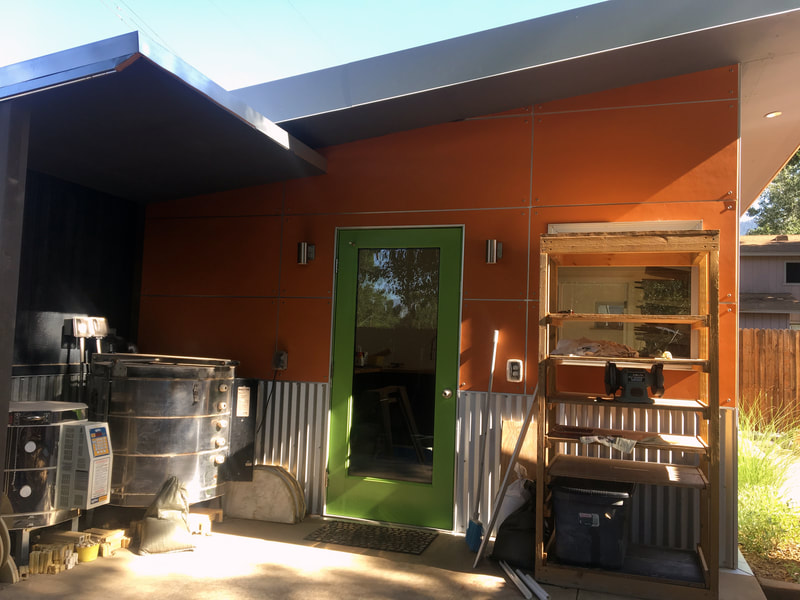
Information about his firing techniques:Why did you choose oxidation soda firing over reduction soda firings? "My work in the soda kiln relies on contrasts between the warm tones of raw clay and flashing slips with yellow, orange, and red hues and vivid cool colors of copper glazes. Using varying glaze recipes and proportions of Copper Carbonate and Copper oxide, along with some Red iron oxide and cobalt, I am able to achieve a range of greens, blues, and purples in a neutral/oxidized atmosphere, once past body reduction. If I continue to reduce the kiln beyond body reduction, especially a heavy reduction, some of these glazes would turn mauve, pink, and red hues, with some blistering, elephant skin, and/or pinholing." How does the color in oxidation soda firing differ from reduction soda firing? "The copper saturate glazes (intended to go green to blue) use between 2-6 or even 8% copper, compared to a Copper Red Glaze, which may only use between ¼-2% Copper Carbonate. Such glazes, in reduction, will not blister or pinhole, and turn a clear to vivid deep bright to blood red hue when fired and applied properly. The Copper Saturate Glazes are not meant to go red, and need a cleaner, neutral to oxidized firing atmosphere to achieve the greens and blues. With the addition of soda in the kiln, the green and blue glazes often appear brighter and have more of a range of colors from the added flux." What Kilns or burners are the easiest to do oxidation soda firings? "I have used both venturi style and forced air, although forced air gives you the most potential for control of air to gas ratios. Wood kilns can easily achieve the ideal neutral atmosphere for these copper saturate glazes as well, but care must be taken not too over reduce during glaze temps. The wood-fire practice of reduction cooling is NOT kind to these Copper Saturate glazes and will almost guarantee extreme blistering, pinholing, and unattractive mauve hues. Avoid these glazes if the goal of the wood firing is reduction. I fired in a cross-draft catenary arch style wood kiln with these glazes and achieved beautiful results." How do you even out a kiln without going into reduction? "The active damper is your friend to achieve even pressure inside the kiln. Using the riostat (blower fan speed adjustments) and air flaps (air volume regulators) along with gas lever (gas volume control), one can balance gas to air ratios, maintaining a neutral/oxidized atmosphere (or whatever atmosphere is desired). I mostly fire in cross draft style kilns, so, in general, pushing the damper in moves the heat to the top; whereas, pulling it out encourages heat to rush across the floor and out exit flues, heating the bottom. Using the damper and reading flames out the bottom spy is a standard gauge for even pressure inside kiln. I like to have a tiny lick of flame out the bottom spy to ensure I have enough for even temps, but not too much, which could stall the climb in temperature or create unwanted reduction." What kind of glazes are best in oxidation soda firings? "I use a lot of shino, amber celadons, blue celadons, temmoku (iron saturate) and copper saturate glazes. When using Copper Saturate glazes in a soda kiln, I typically avoid using them as liner glazes, due to inevitable crazing and the potential for leaching with acidic foods/beverages. Especially when using barium or strontium to brighten copper blue glazes, I keep them on exteriors for color pop, and leave safer glazes on interiors." What’s a typical firing schedule for you, including when do you add soda? "I typically load and light day 1. I will light one burner for several hours, before lighting the other, and then do a turn up or two before bed, allowing a steady preheat. About 5 am I begin hourly turnups until body reduction, which I begin at cone 012/010. I do increase gas and push damper in further and continue body reduction until cone 08 is down. Now I begin increasing the air, using riostat and flaps, to clean up atmosphere to neutral and use damper to create desired pressure (tiny flame out bottom spy). This continues through heating, adjusting air and damper while monitoring evenness top to bottom, until cone 9 begins to fall. At this point I prepare soda to introduce, dry first, then sprayed, until desired amount is used up. The dry soda ash or baking soda is mixed equal parts with soda, whiting, and wood chips/sawdust, and mixed into a thick paste using minimal water, then smeared onto bark or small wood slabs. These are stoked into kiln every 15-20 minutes until gone. I wait until cone 10 is down and sometimes spray some soda ash in water at end, then shut down kiln." About Jason: "I was born in Louisville, KY, did graduate studies at West Virginia University and in Jingdezhen, China, and now reside in Flagstaff, AZ. I’m a Senior Lecturer in the School of Art at Northern Arizona University, where I teach design, drawing, and ceramics. I make pottery at my home studio, which I designed and built myself between fall 2017-present. My work explores organic forms and the architectural details of the vessel. Hues and textures I experience in the natural world are evident in my ceramic surfaces, created from atmospheric firing in wood and soda kilns. I am interested in the shared moments handmade pots can create through daily use, during communal wood firings, shared meals, and rituals of coffee and tea. All wood and soda-fired work is fired to 2400 degrees and is very durable and food safe. Studio visits are welcomed by appointment - Message or email me to schedule." Sign up to continue to be a part of this Soda Fire Educational Series!
|
Hi, I'm Lisa the artist and creator of this content.
Here on my blog I share behind the scenes, events, and activities related to my art. GET INSPIRATION AND SPECIAL DEALS DELIVERED STRAIGHT TO YOUR INBOX!
Categories
All
Archives
February 2024
|


 RSS Feed